Overview
Domino Grand Prix is an animation that captures a high-speed battle between rival domino teams, speeding around a circuit on a bedroom floor, racing to the finish line. In this write-up, I’ll cover the creative decisions and technical aspects of my creation, describing the choices made for models, materials, the animation sequence, sound design, and editing.
Software and Tools
Cinema4D - Animation Software
3D animation software used for modeling, texturing, lighting, animating, and rendering.
CentiLeo Renderer - Render Engine
Free ray tracing GPU renderer for Cinema4D and 3DS Max. Features IPR (Interactive Preview Render).
FL Studio - Audio and Sound Design
Music production and audio editing software of choice. Used to create all sound effects and synchronize them to the animation.
Adobe Premiere Pro - Video Editor
Video editing software used to cut the rendered video and combine it with audio and sound effects.
Engine Simulator - Engine Synthesizer
Incredible open-source program that physically models engine sounds using a simulation. Used to generate the engine sounds for the race sound effects.
Idea
I decided to create a domino chain reaction animation after seeing a domino while brainstorming for this project. Initially, I had created a simple domino chain reaction using the built in dynamics engine in Cinema4D, and I experimented with different paths and materials. I then had the idea to stage it as a race between two separate chains of dominoes trying to complete the loop the fastest. I liked the idea, and got to work setting up the scene and the racetrack and used the domino chain I had set up originally. I experimented following the race action with a moving camera, however I opted for multiple cameras set up at points on the track with some “crane” cameras that point towards the action from above. This worked much better, prevented a lot of motion blur, and is similar to how actual races are filmed.
For audio, I was initially just going to find engine revving audio clips that seemed to match the action in the scene, but I decided to see how convincing the EngineSim engine synthesizer would sound with a few positioning and doppler effects added to it. I decided to add the domino clinking sounds as well using the same audio effects chain for added effect.
Models and Materials
Every model and material in this project was created by myself. For each one, I’ll explain the thought process and techniques I used to create them.
Dominoes
Model
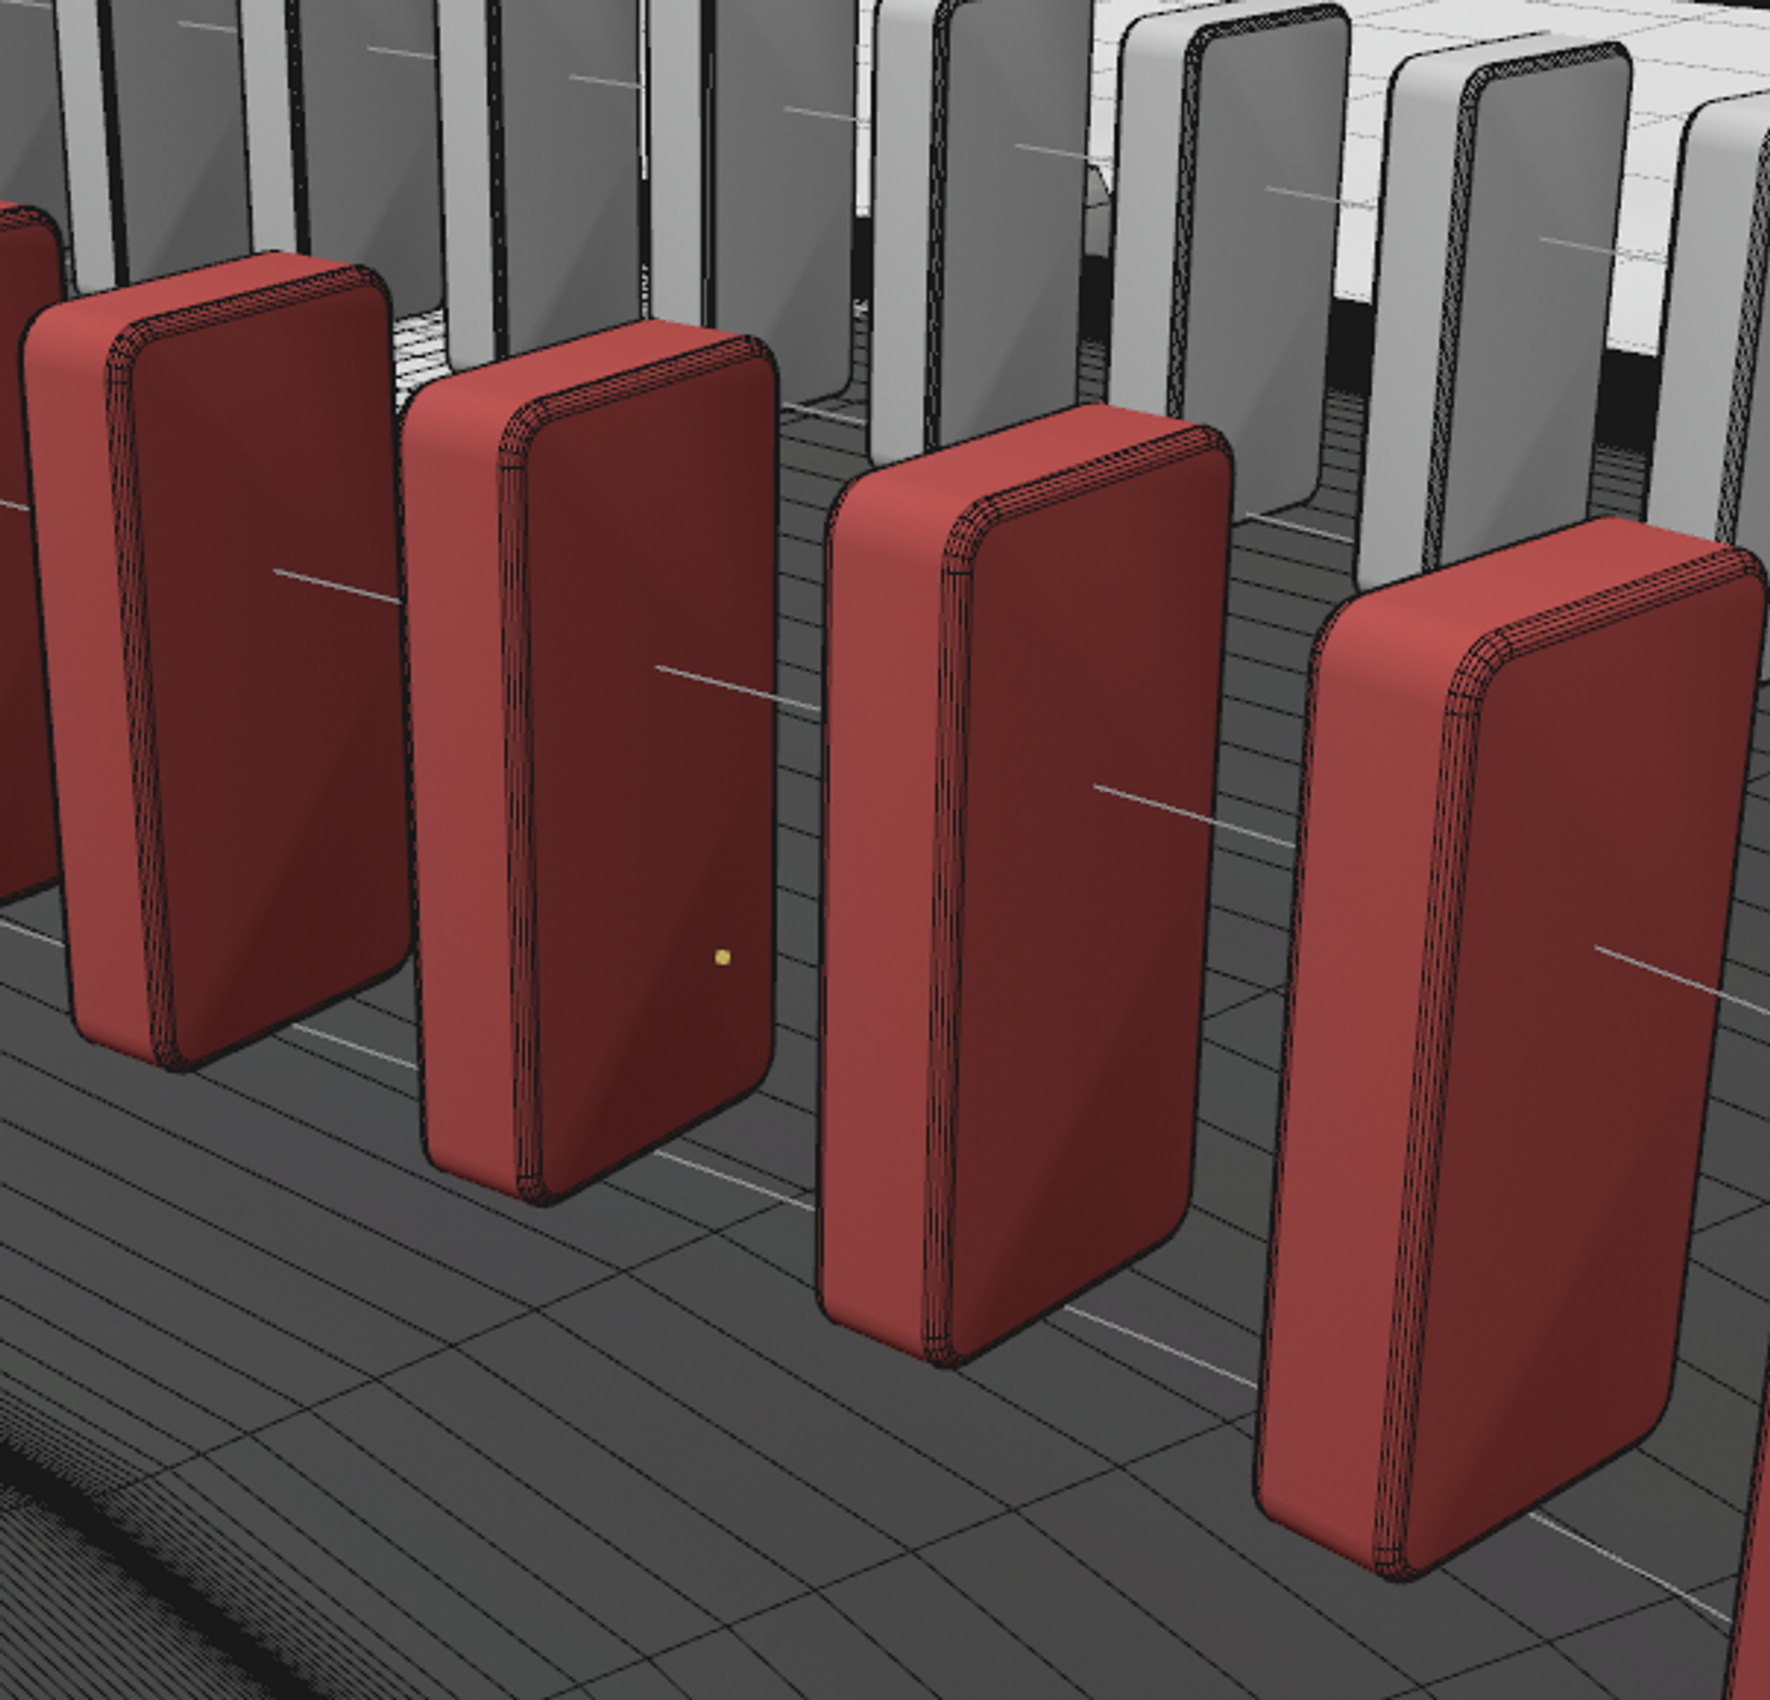
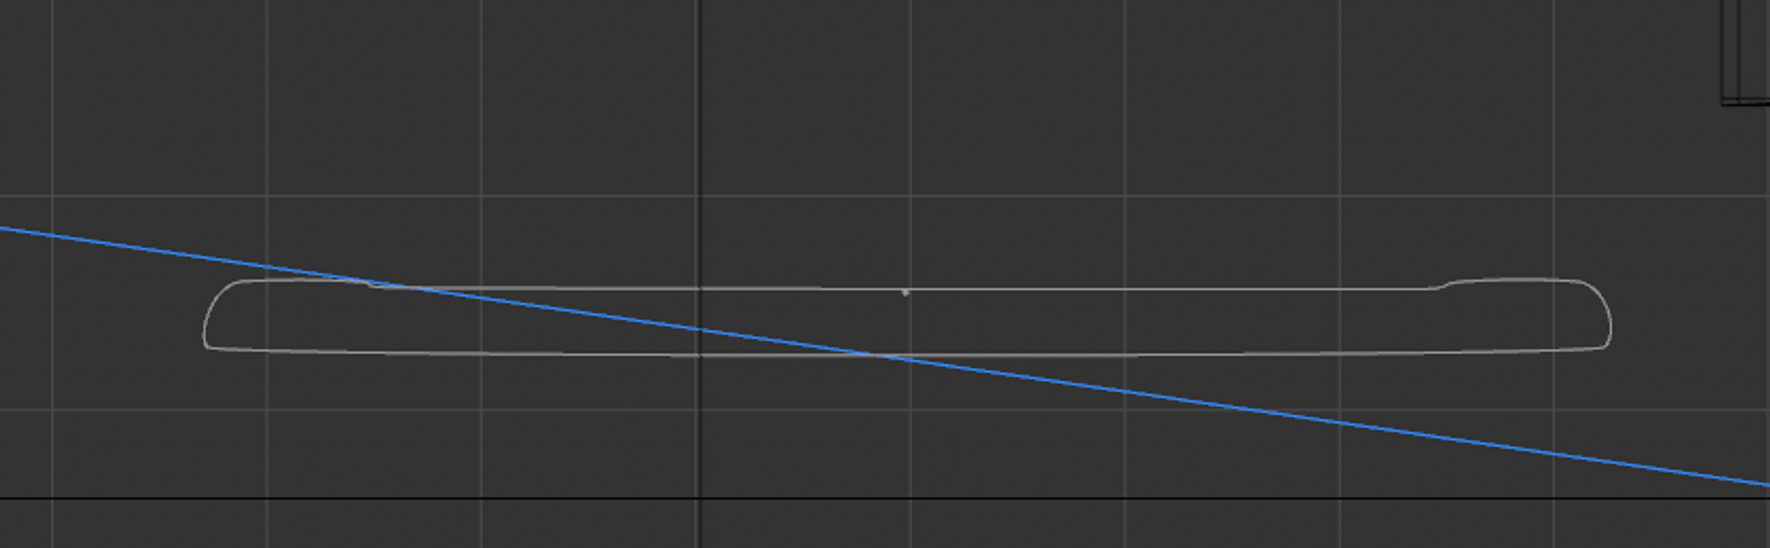
The domino model is a simple extruded rounded rectangle, with a small radius on all of the edges. I modeled it based on a real domino I had, but at a larger scale to avoid clipping the near clip plane on the camera in close shots.
To place the dominoes, I drew a spline to represent the path of the dominoes and used that in a Cloner entity to multiply the domino with a given spacing. Then, to align the dominoes to be pointing upward, I created a parallel Rail spline and linked that to the Cloner entity.
On the track, there are 659 of each type of domino. If we include the crowd members, at 92 viewers per grandstand, there’s 2,422 dominoes in total.
Material
There are several materials used for the dominoes, two for the ‘racers’ and three additional ones for the crowd.
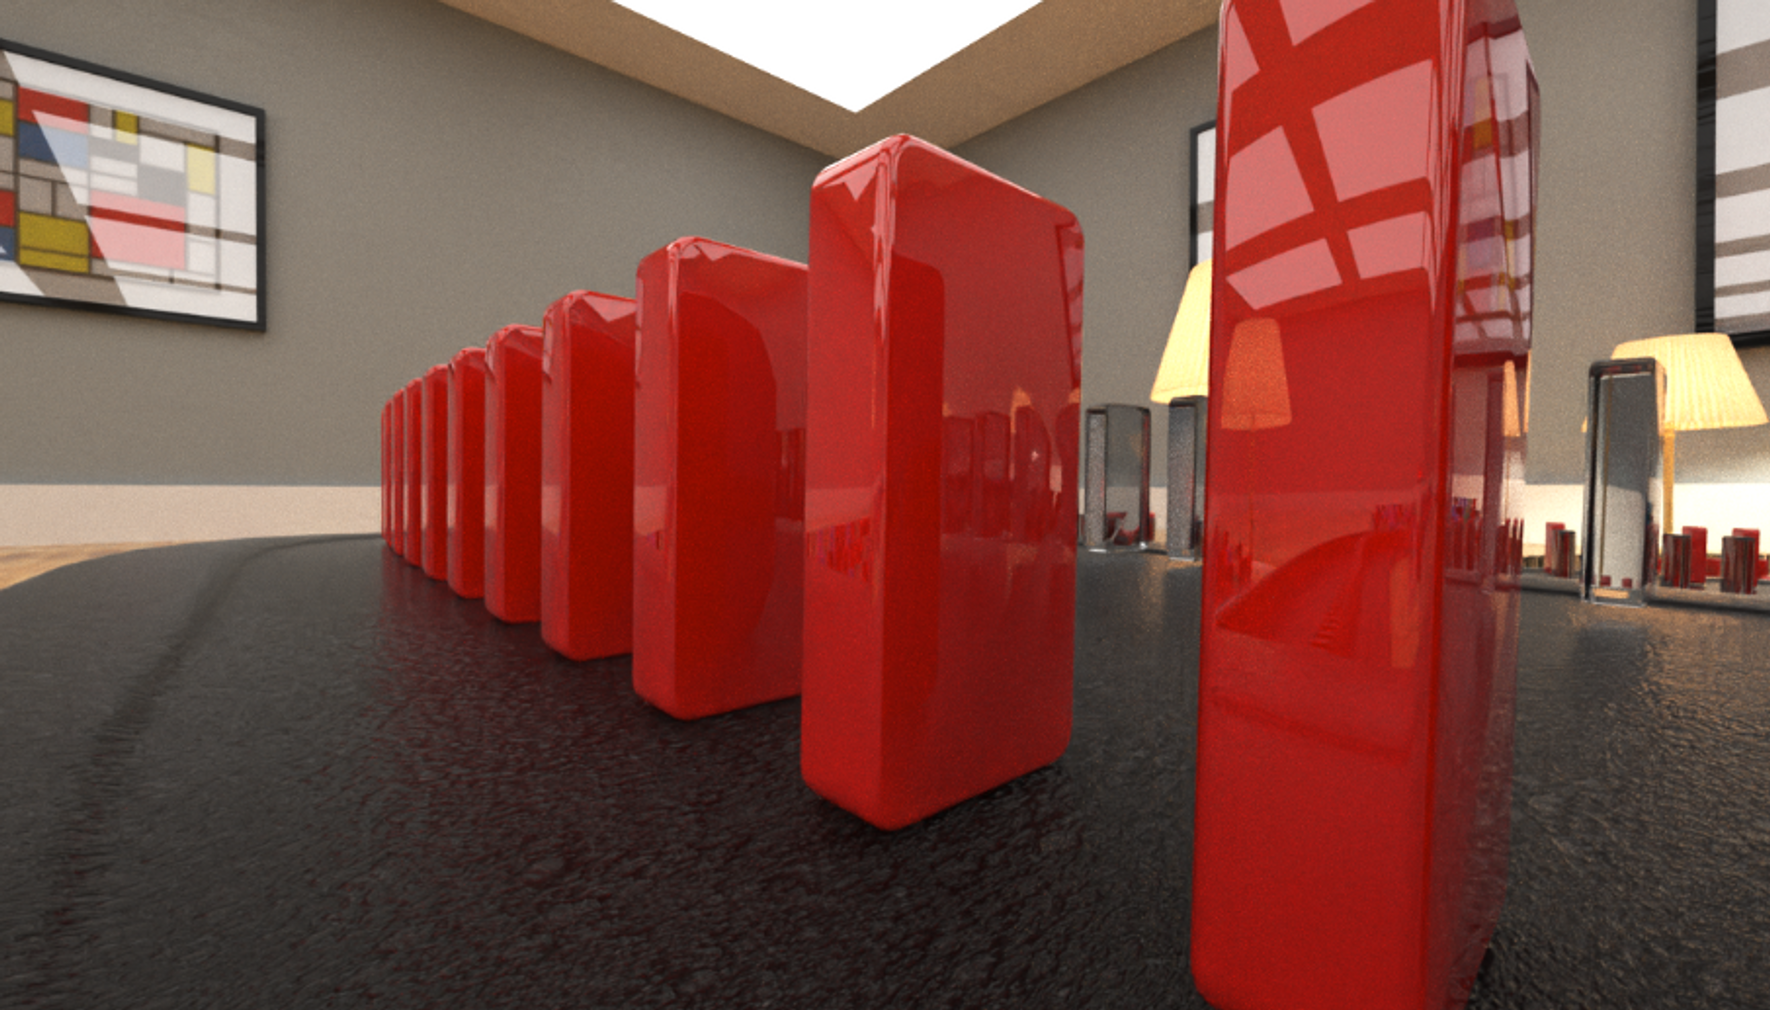
For the red domino, the material is composed of a diffuse channel, and a glossy reflection channel. I initially activated the subsurface channel for subsurface scattering to mimic the look of a normal ivory/resin domino, but I decided to go for a solid red colour instead.
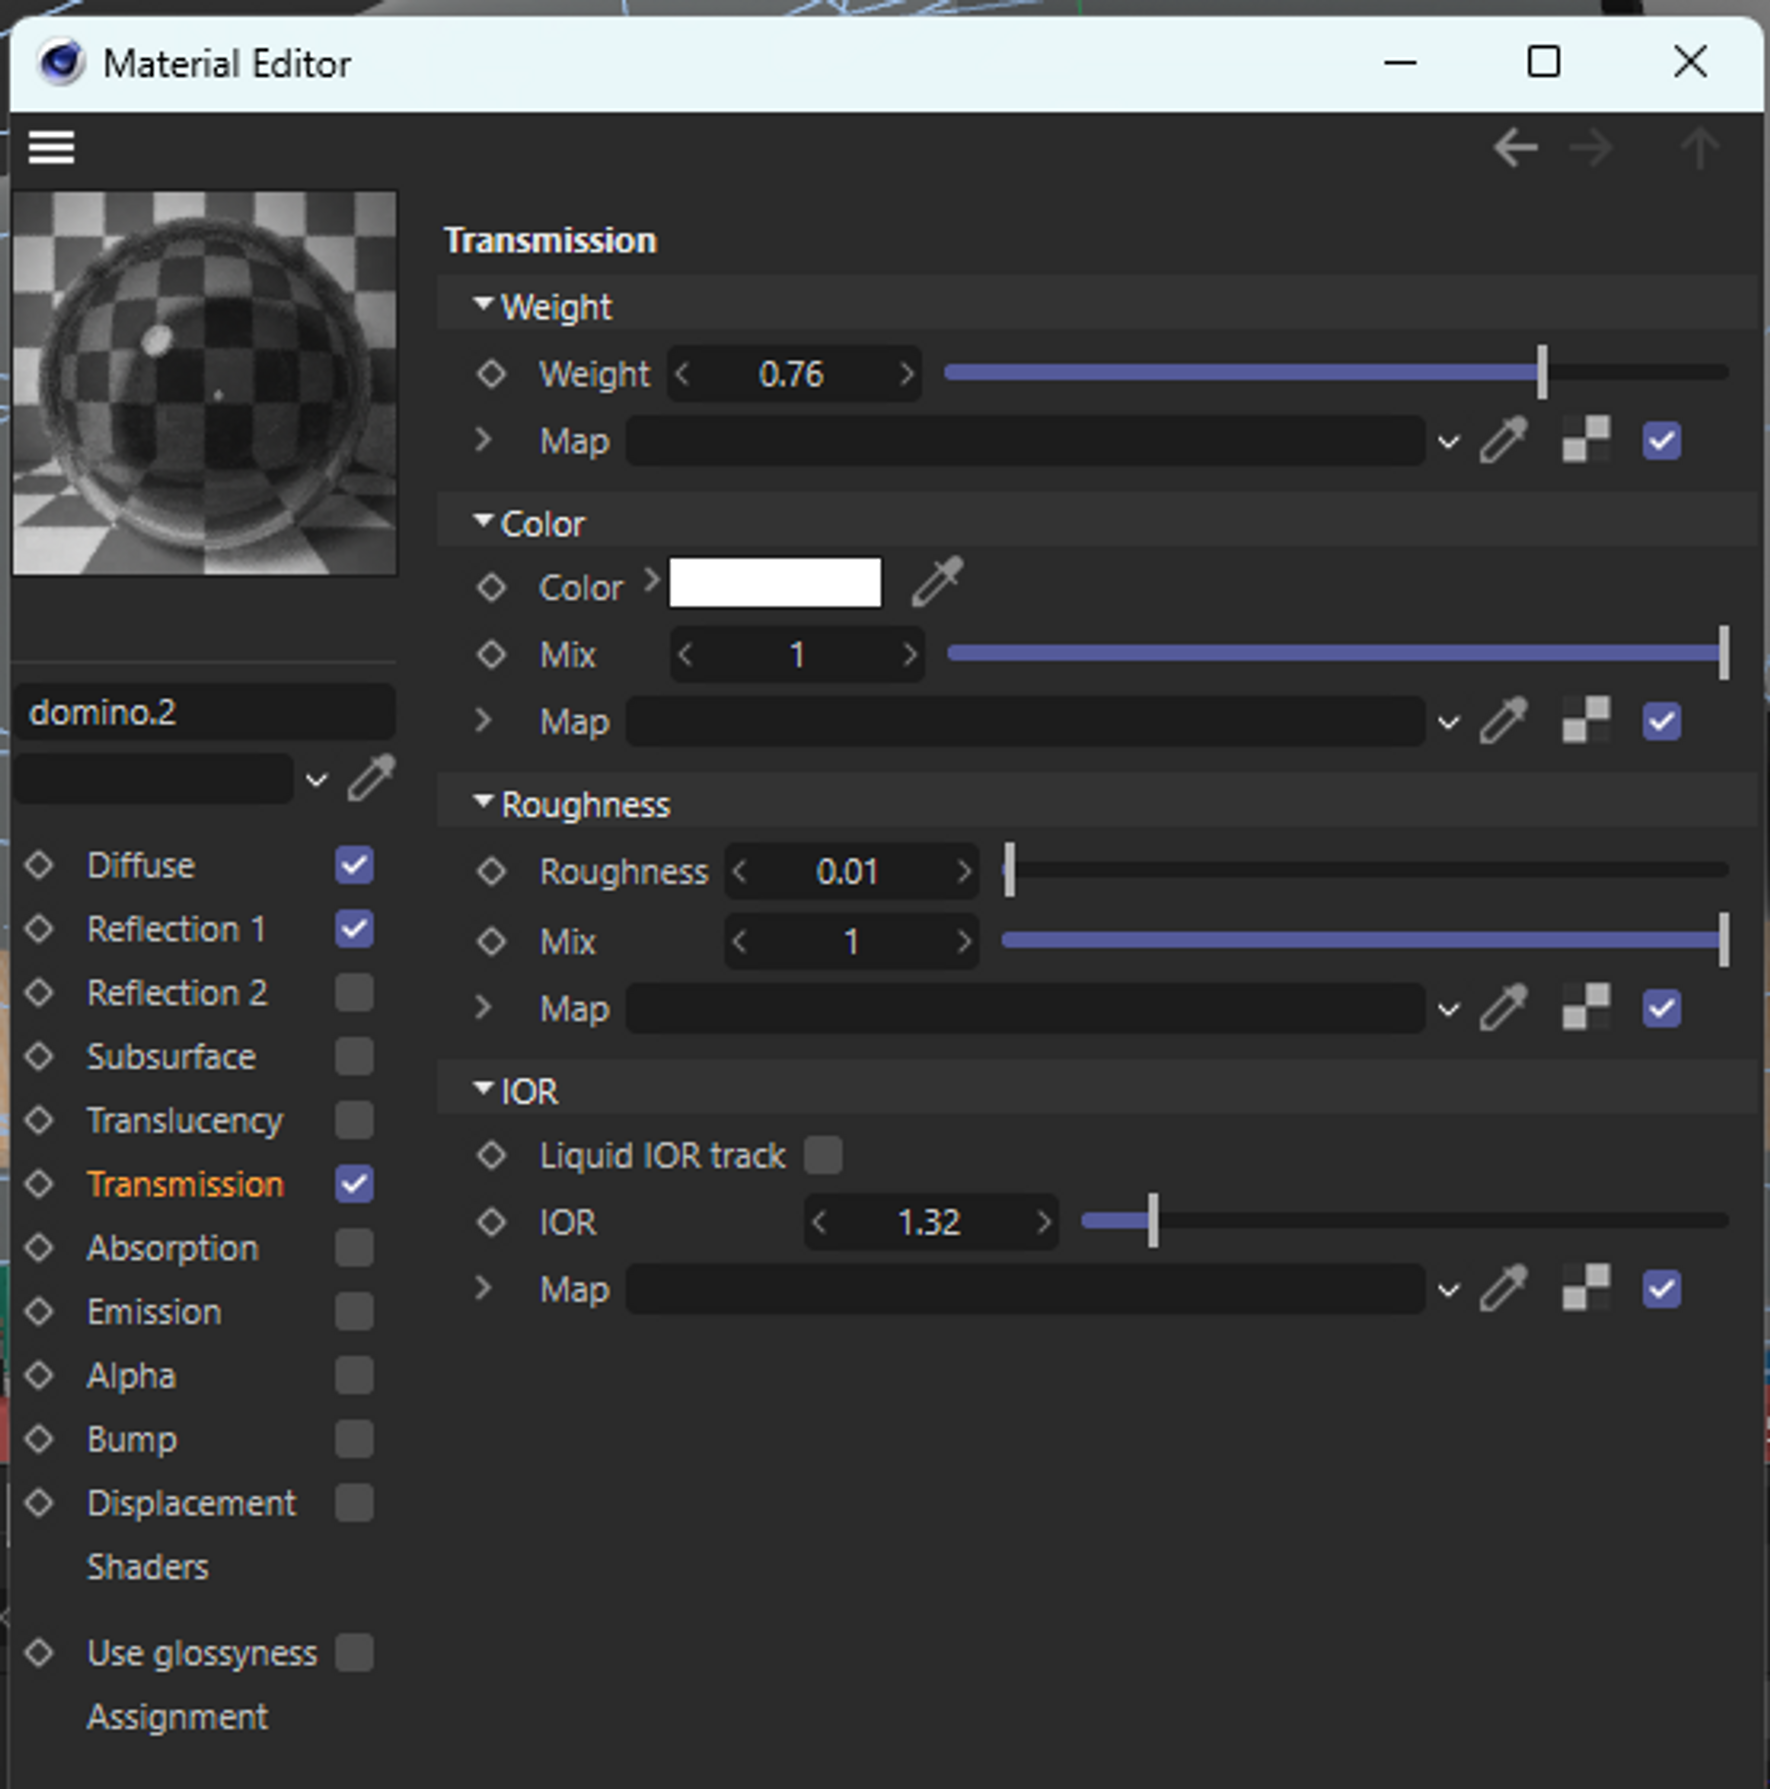
For the glass domino, I used similar parameters in the Reflection channel, and activated the Transmission channel to enable transparency. I aimed for a glass-like material, dropping the roughness to 0.01. I also set the IOR (Index of Refraction) to 1.32, which is actually closer to the IOR of water, but it matched the desired effect I had in mind.
Lastly, the crowd domino materials are simply colour variations of the red domino.
Race Track
Model
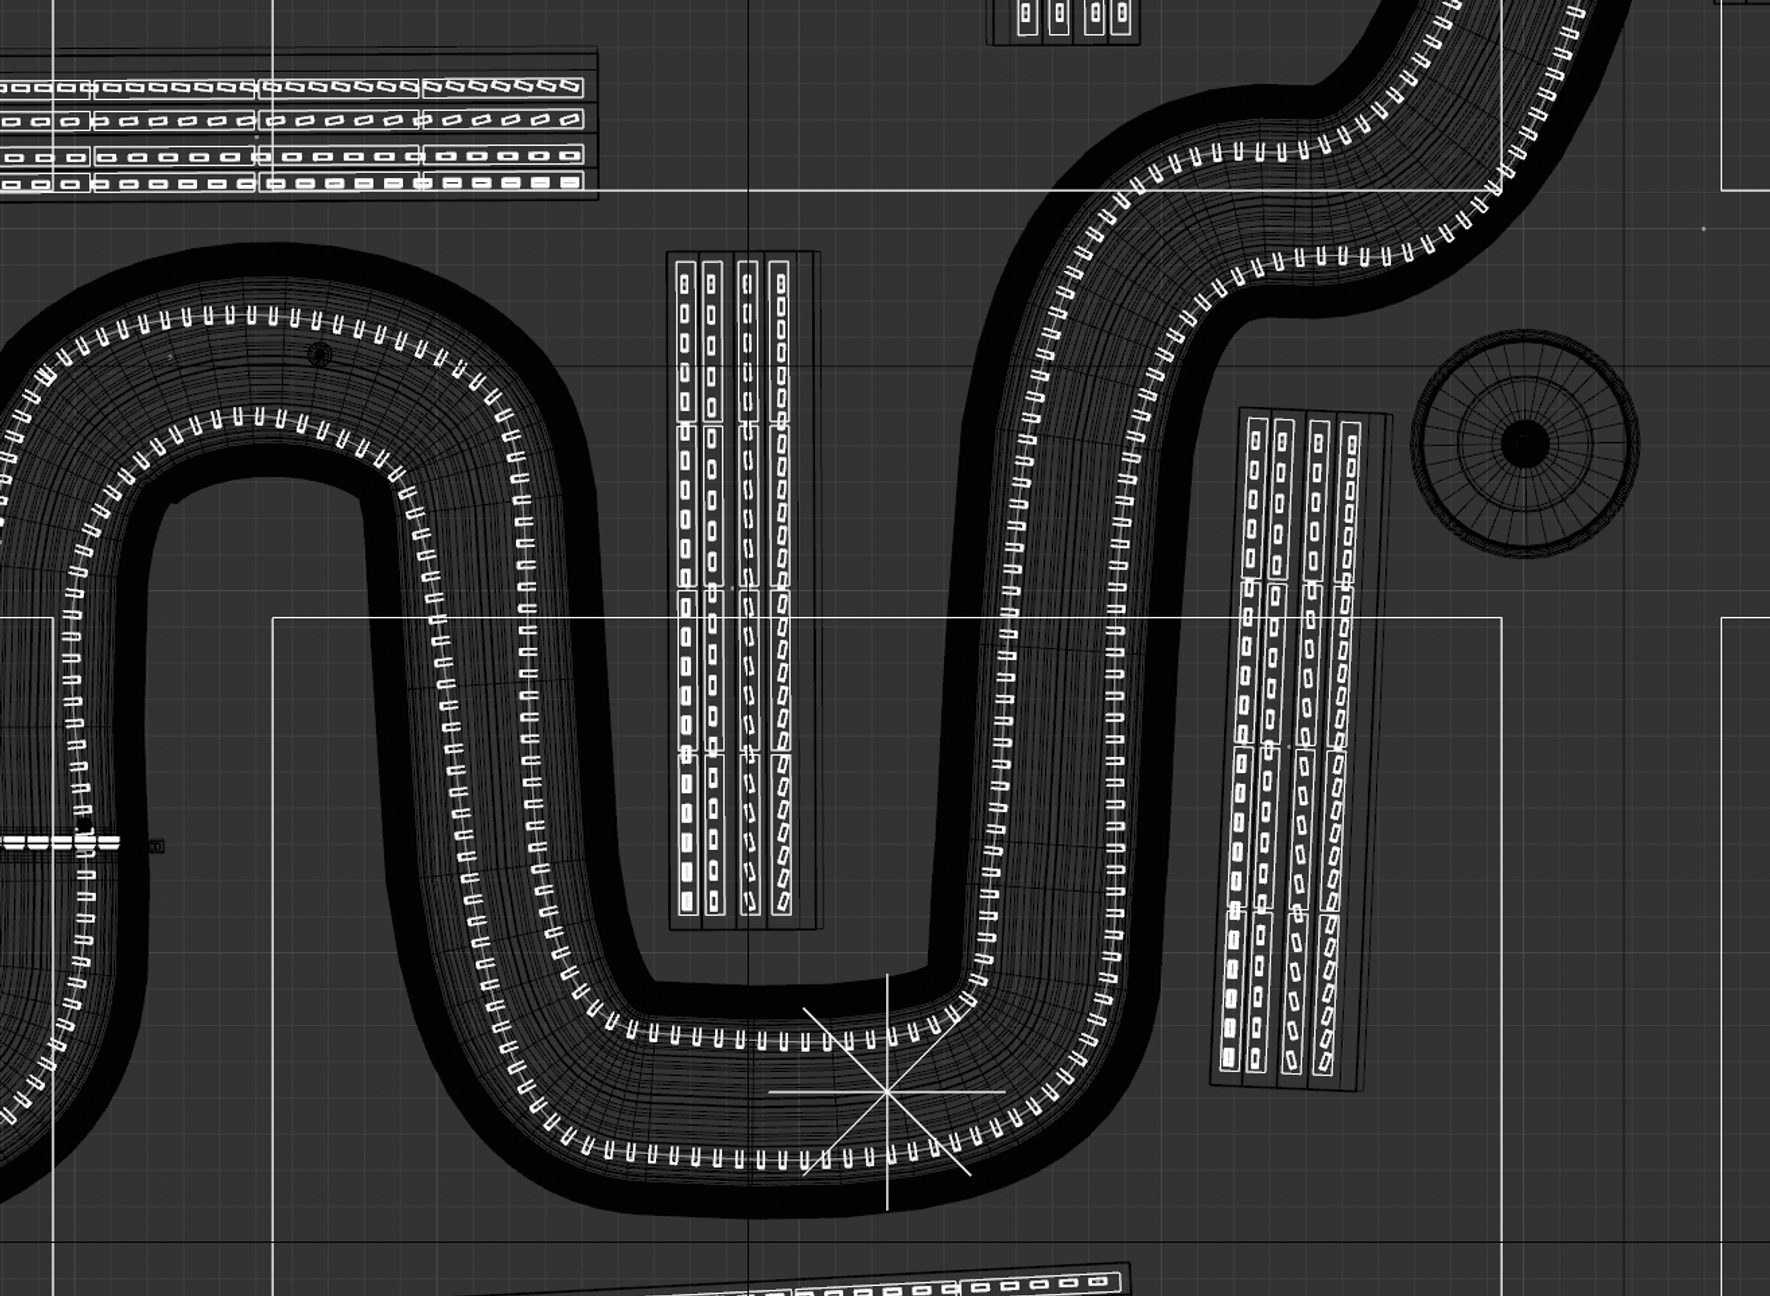
The track for the domino race is created drawing a spline for the overall layout of the track. I created the profile of the track surface using another spline, then used the Sweep tool to extrude the profile along the path to create a solid shape.
Material
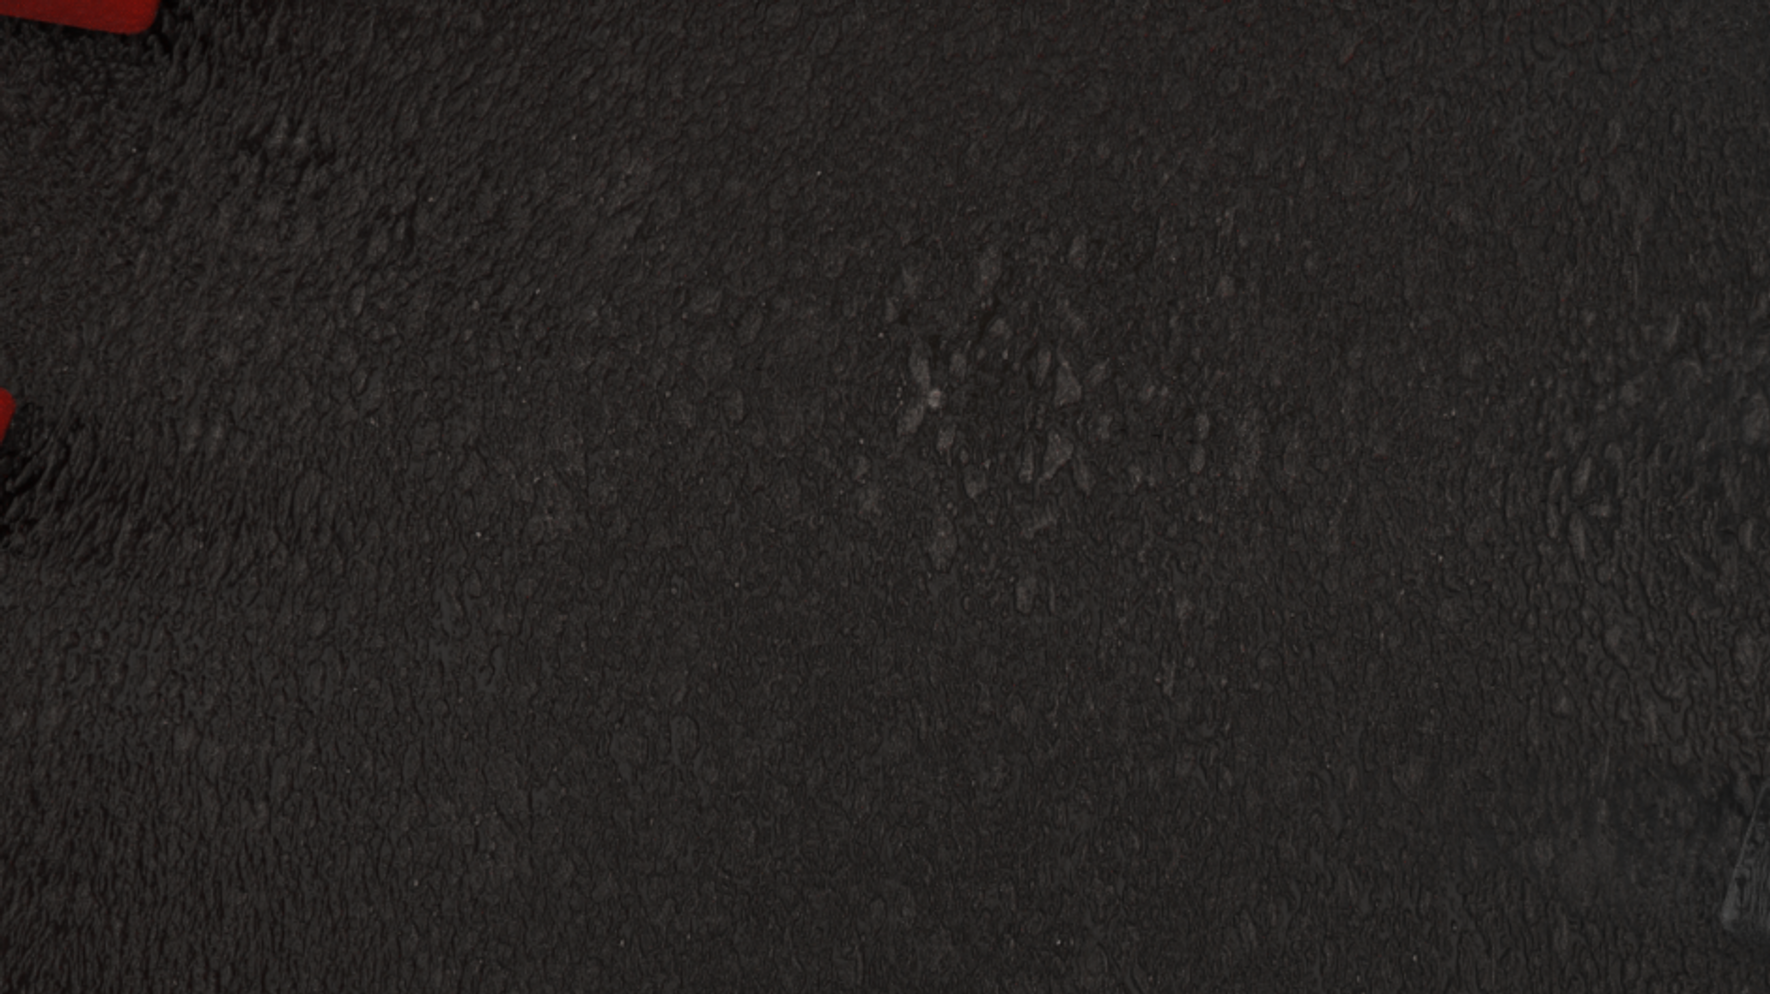
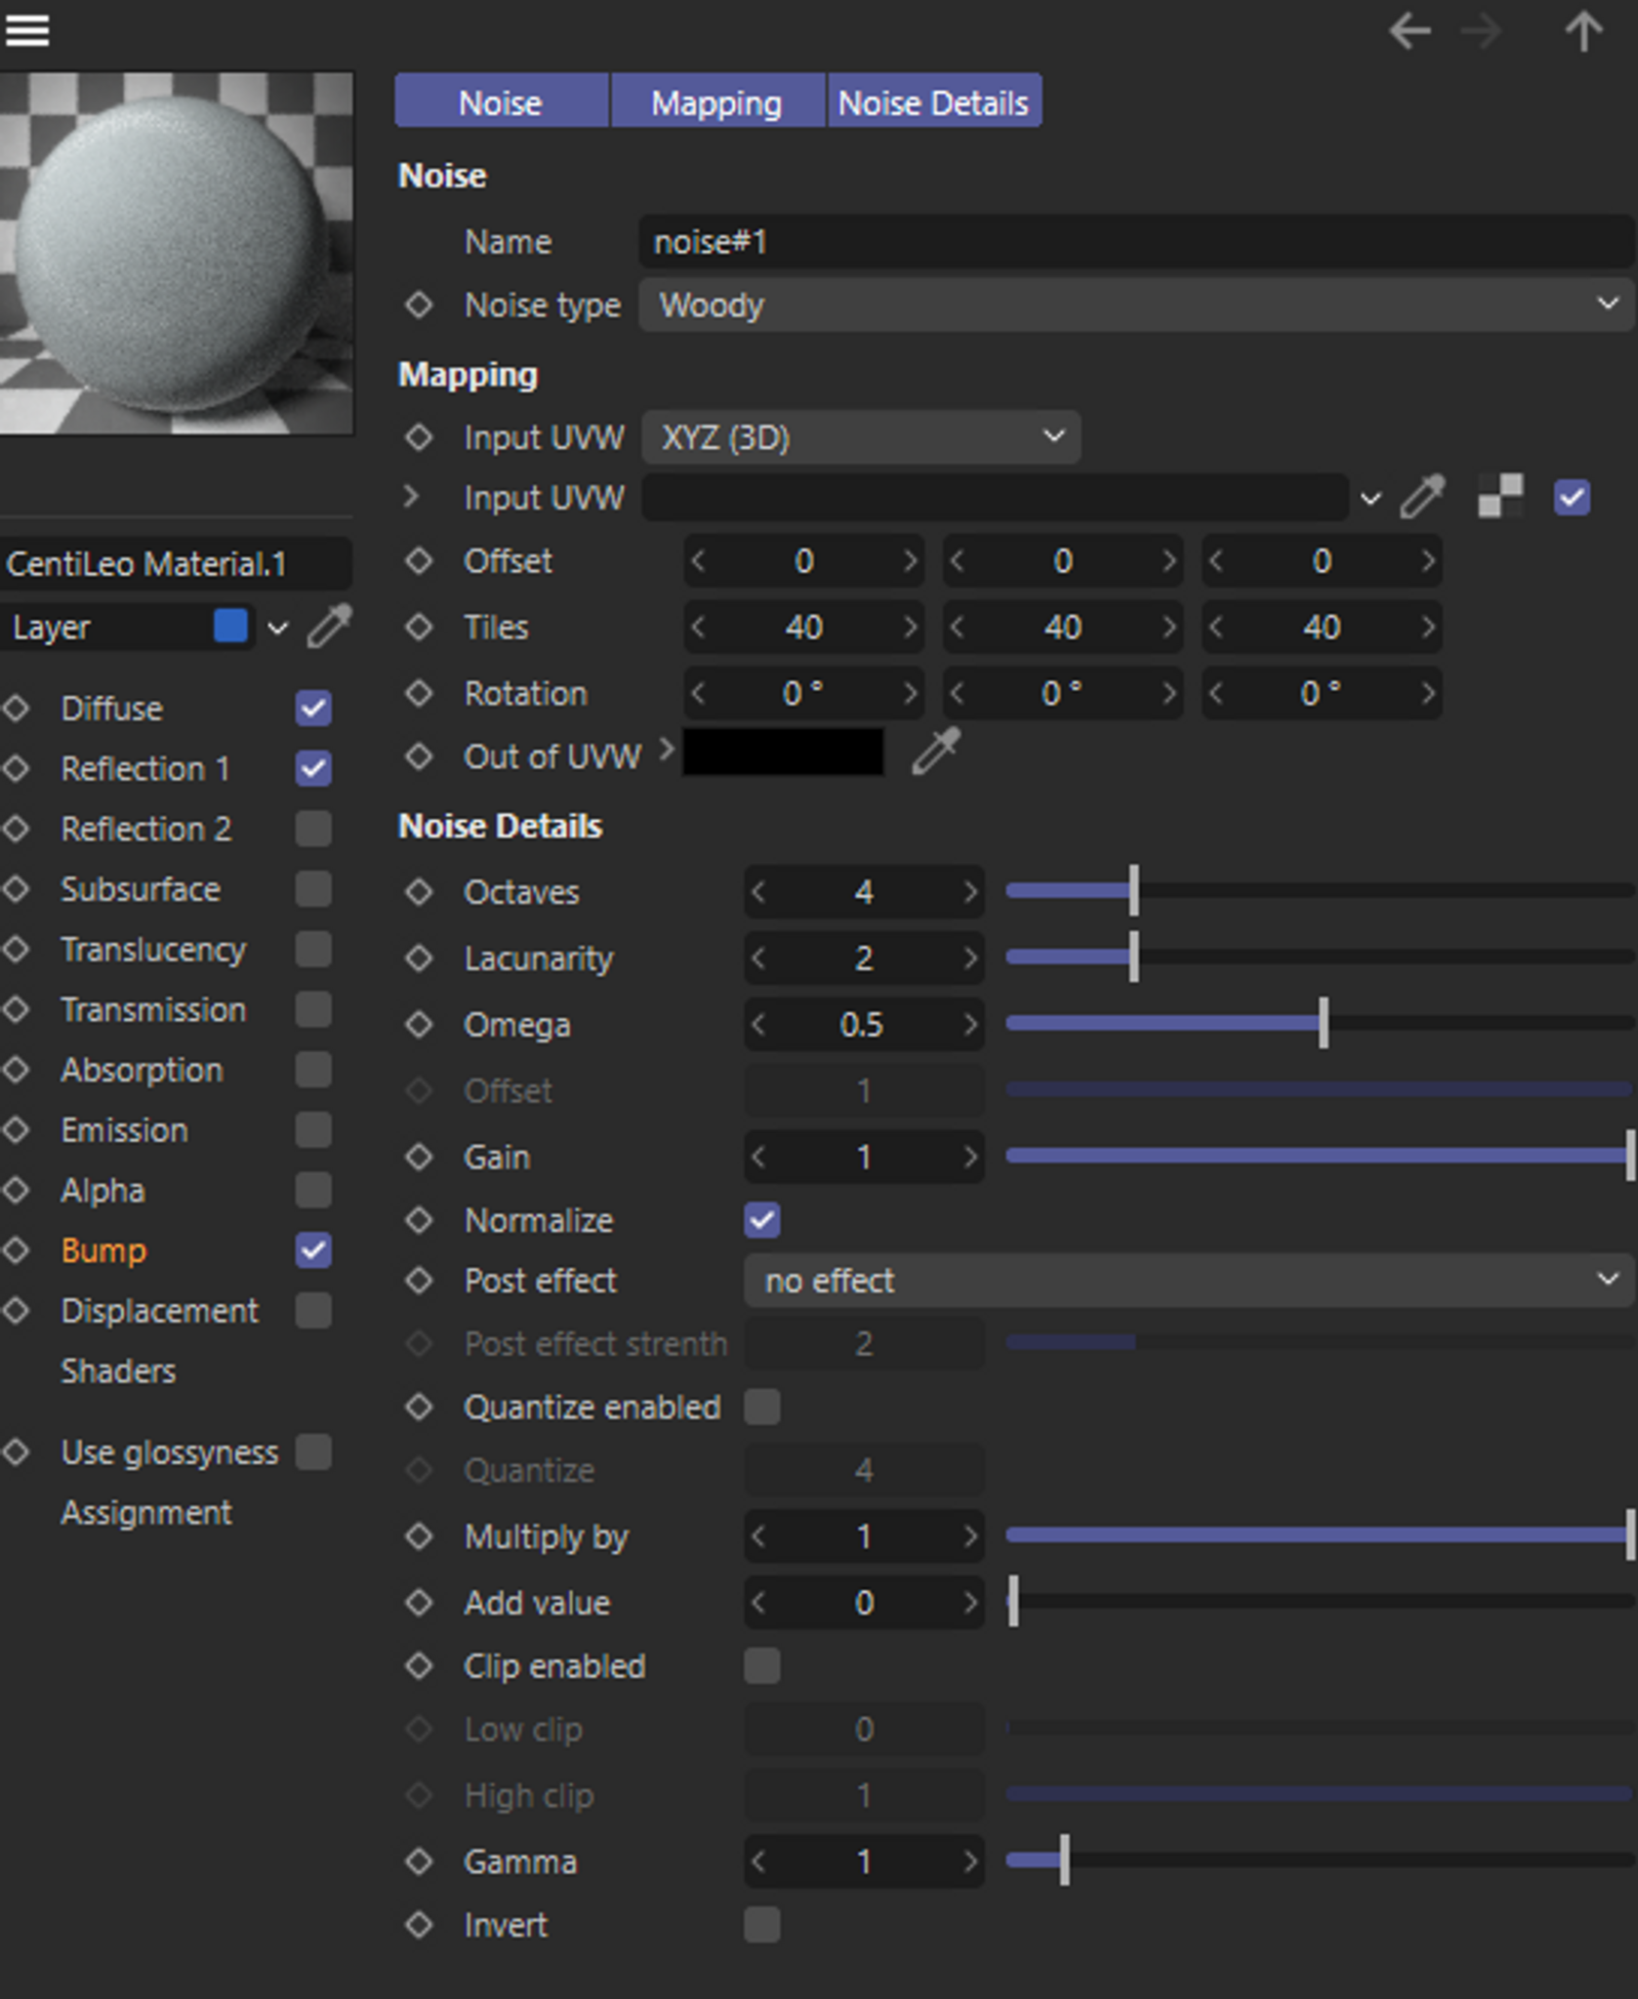
The material I created for the track is meant to be similar to asphalt. I used an asphalt bitmap [2] mixed with noise generators to provide the desired effect to use for the bump map. Then set the diffuse layer to a dark brownish colour, and added some rough specular reflection.
Grandstand
Model
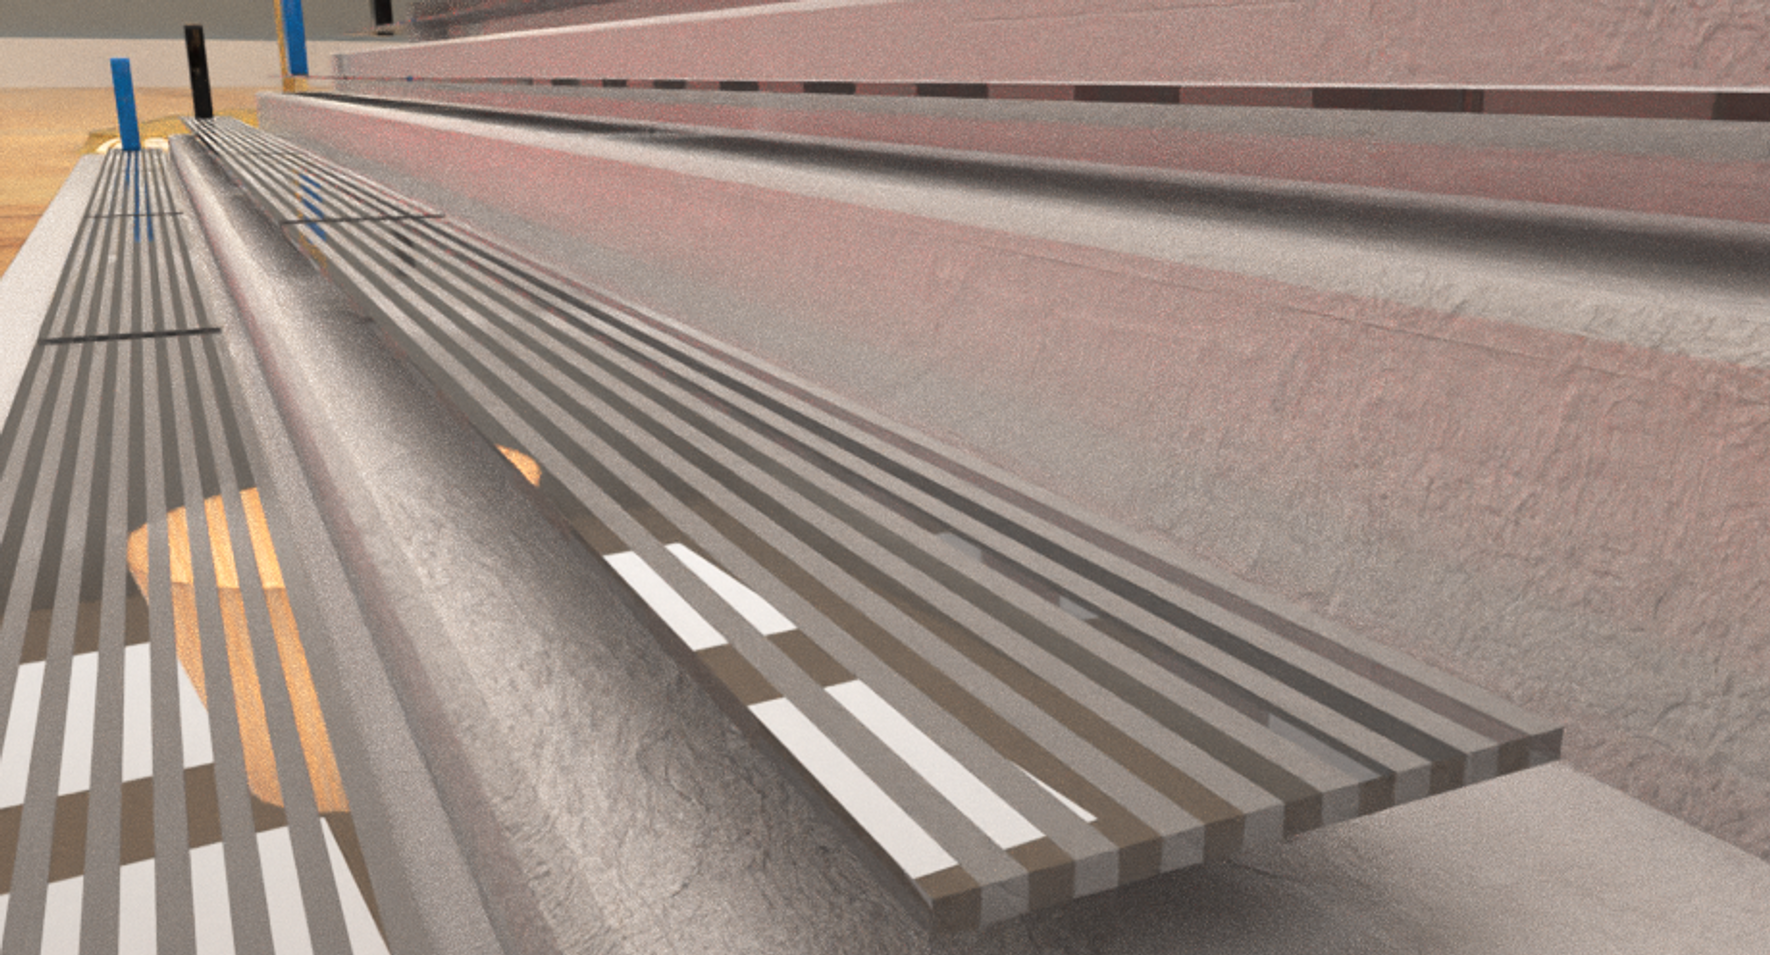
The model for the grandstands consists of a group of transformed polygons to create a staircase shape, and four rows of metal seating made from rectangular prisms.
Material
The concrete material (left) is a simple grey texture with a noise layer in the bump map channel, and subtle high roughness reflections. This gives it a rough look to mimic concrete.
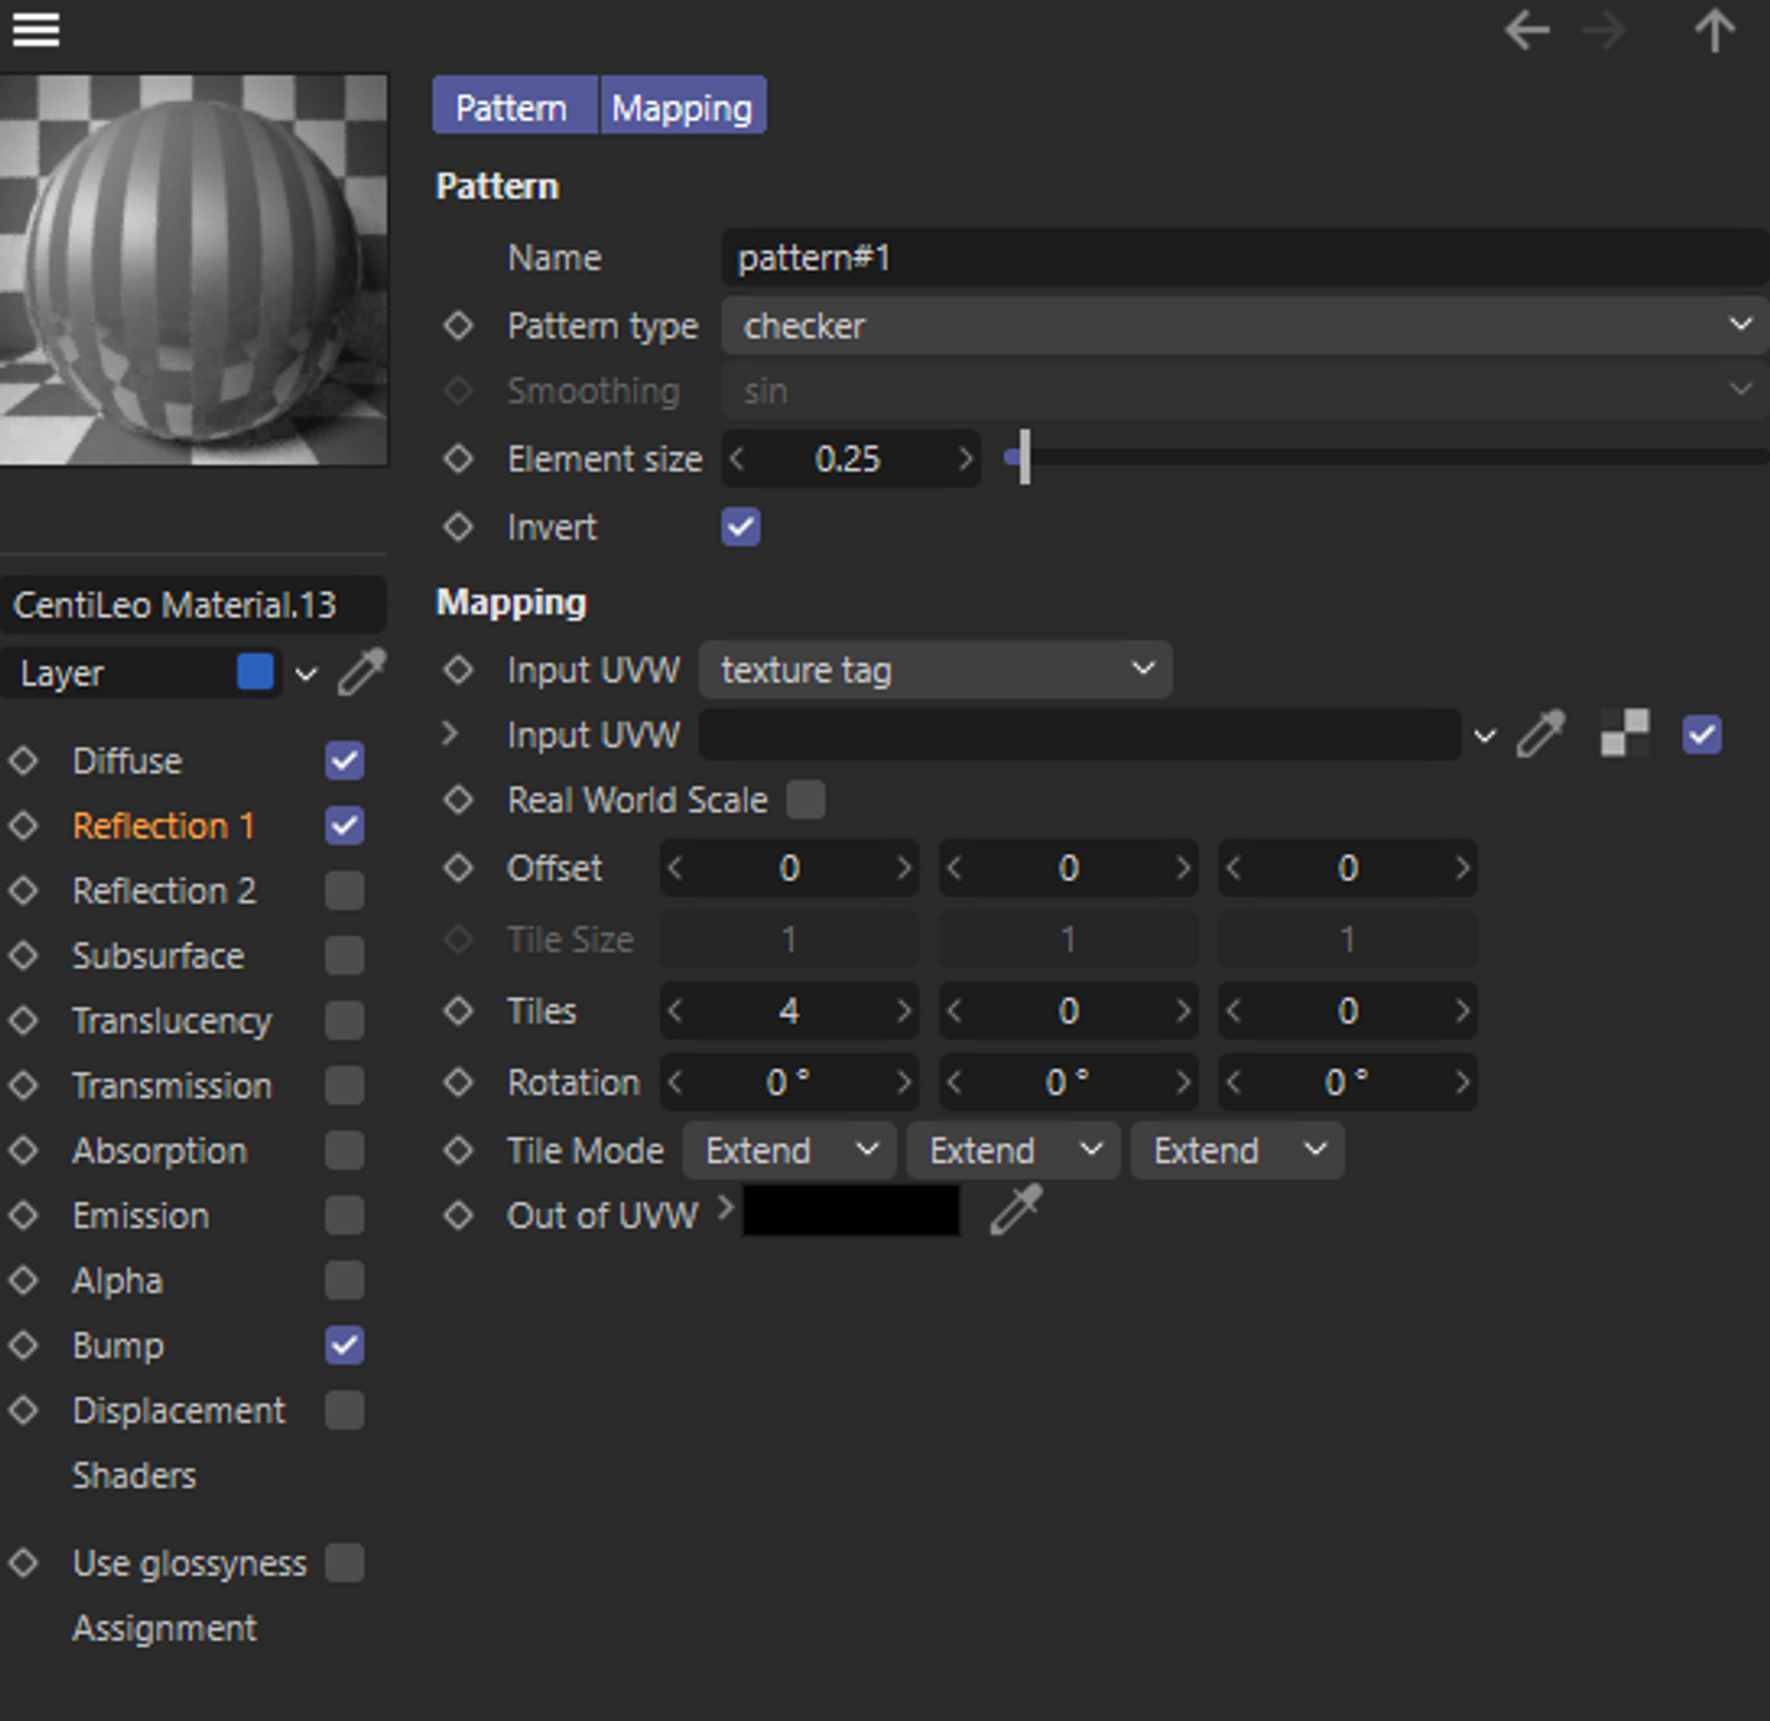
The metal seating material (right) is a reflective grey material with a pattern mapped to the reflection channel. I used a checkered pattern to give a ridged appearance to the seat as it is in real life.
Lamp
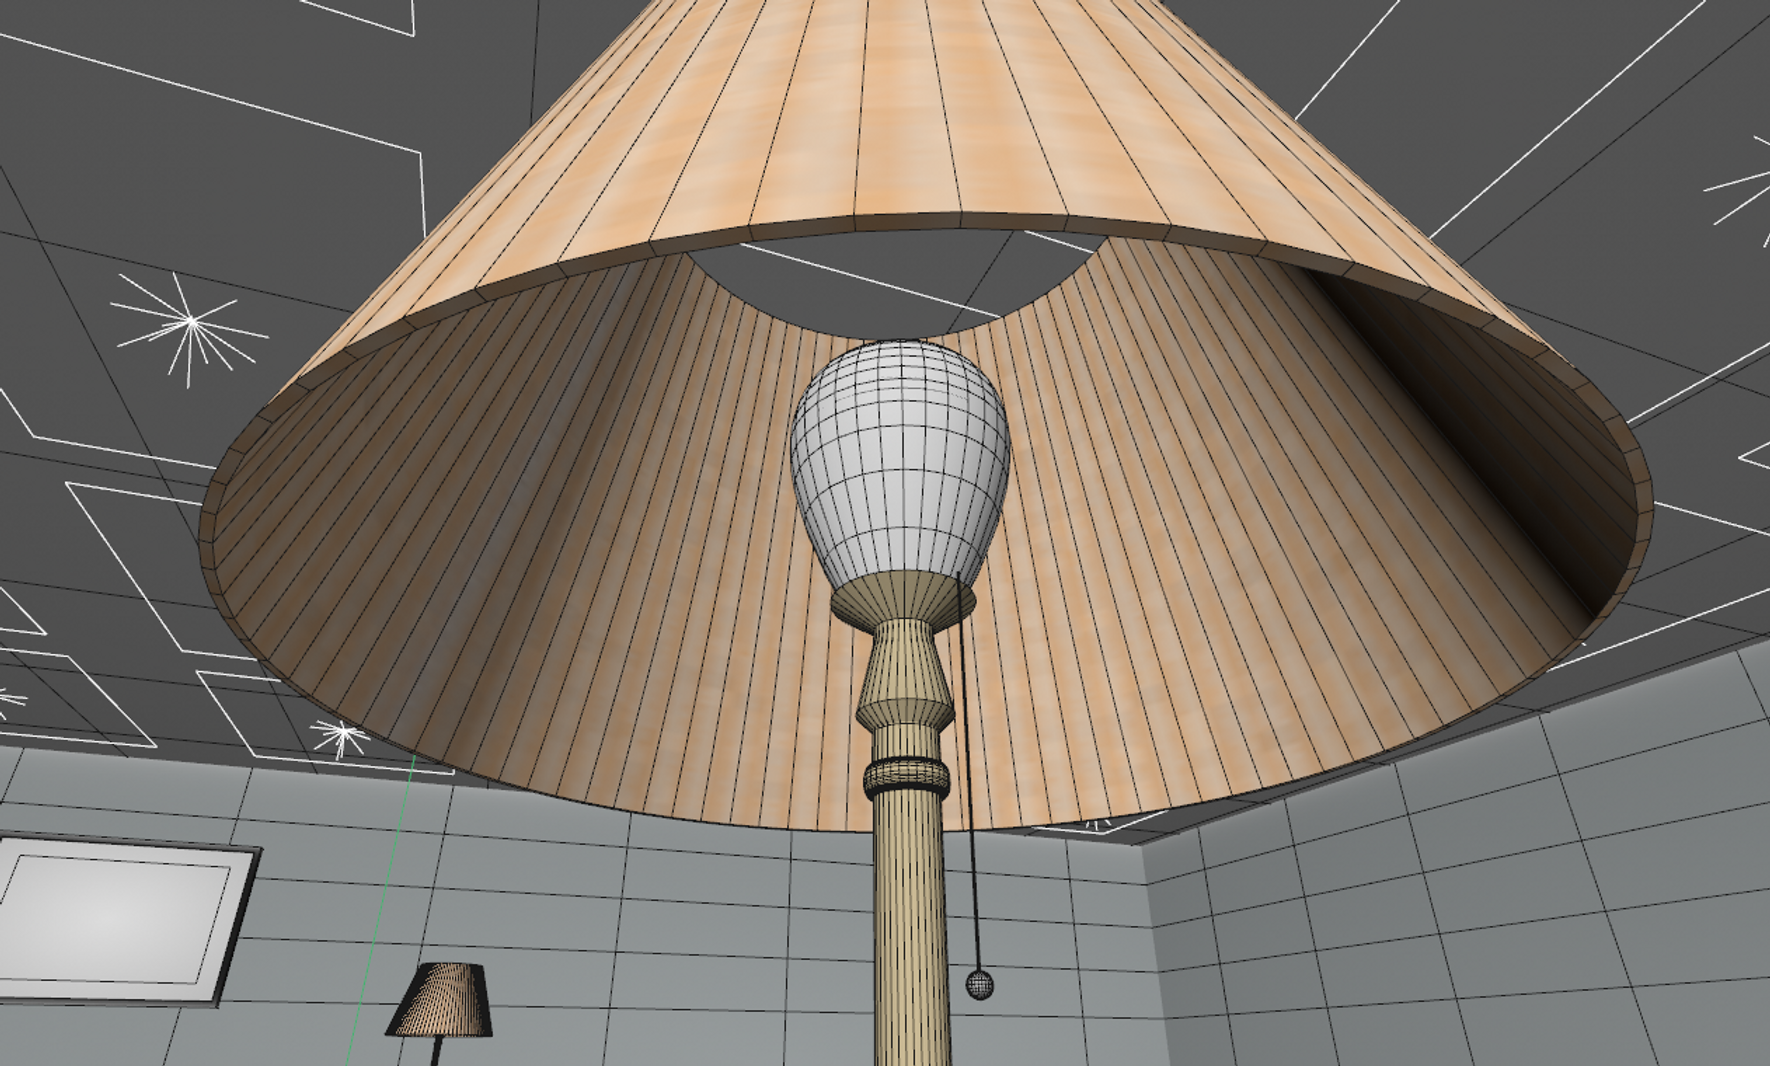
The lamp model consists of four parts: lamp body, lamp shade, light bulb, and light filament.
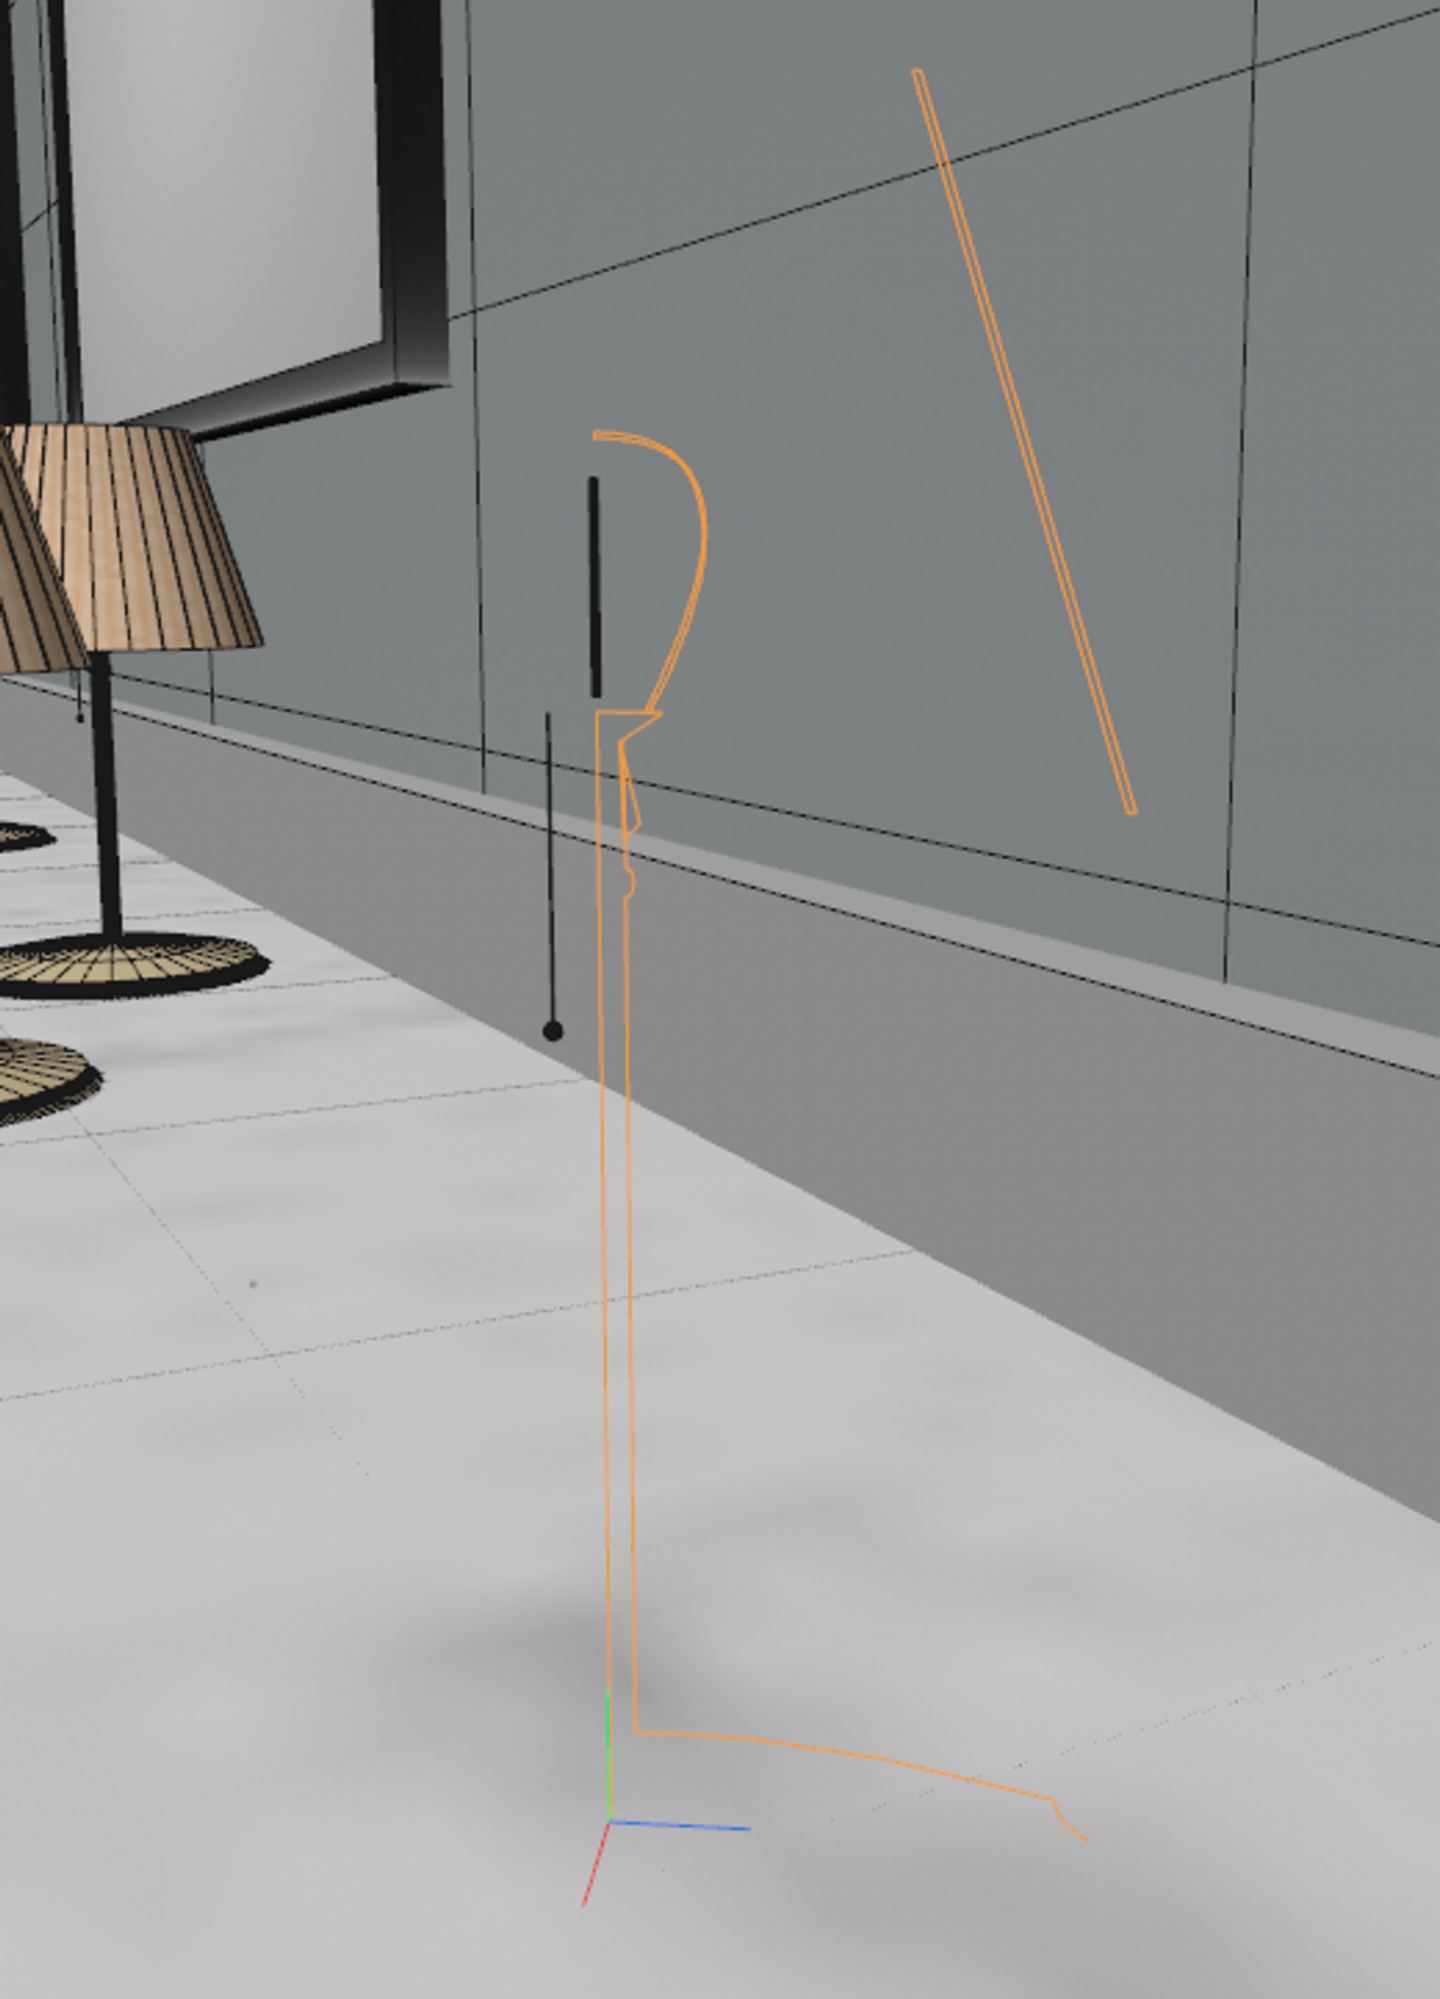
As a lamp is rotationally symmetric, I used the same technique to create the model for each part. I start by creating a 2D vector drawing of the desired profile, then I extrude and rotate it about the Y axis using the Lathe tool. I can then tweak the 2D spline if I need to make any modifications and it propagates all around it.
Body
The material I created for the lamp body is meant to resemble polished brass. I then added a procedural scratch bump map to the material to make some visual imperfections in the reflection.
Lampshade
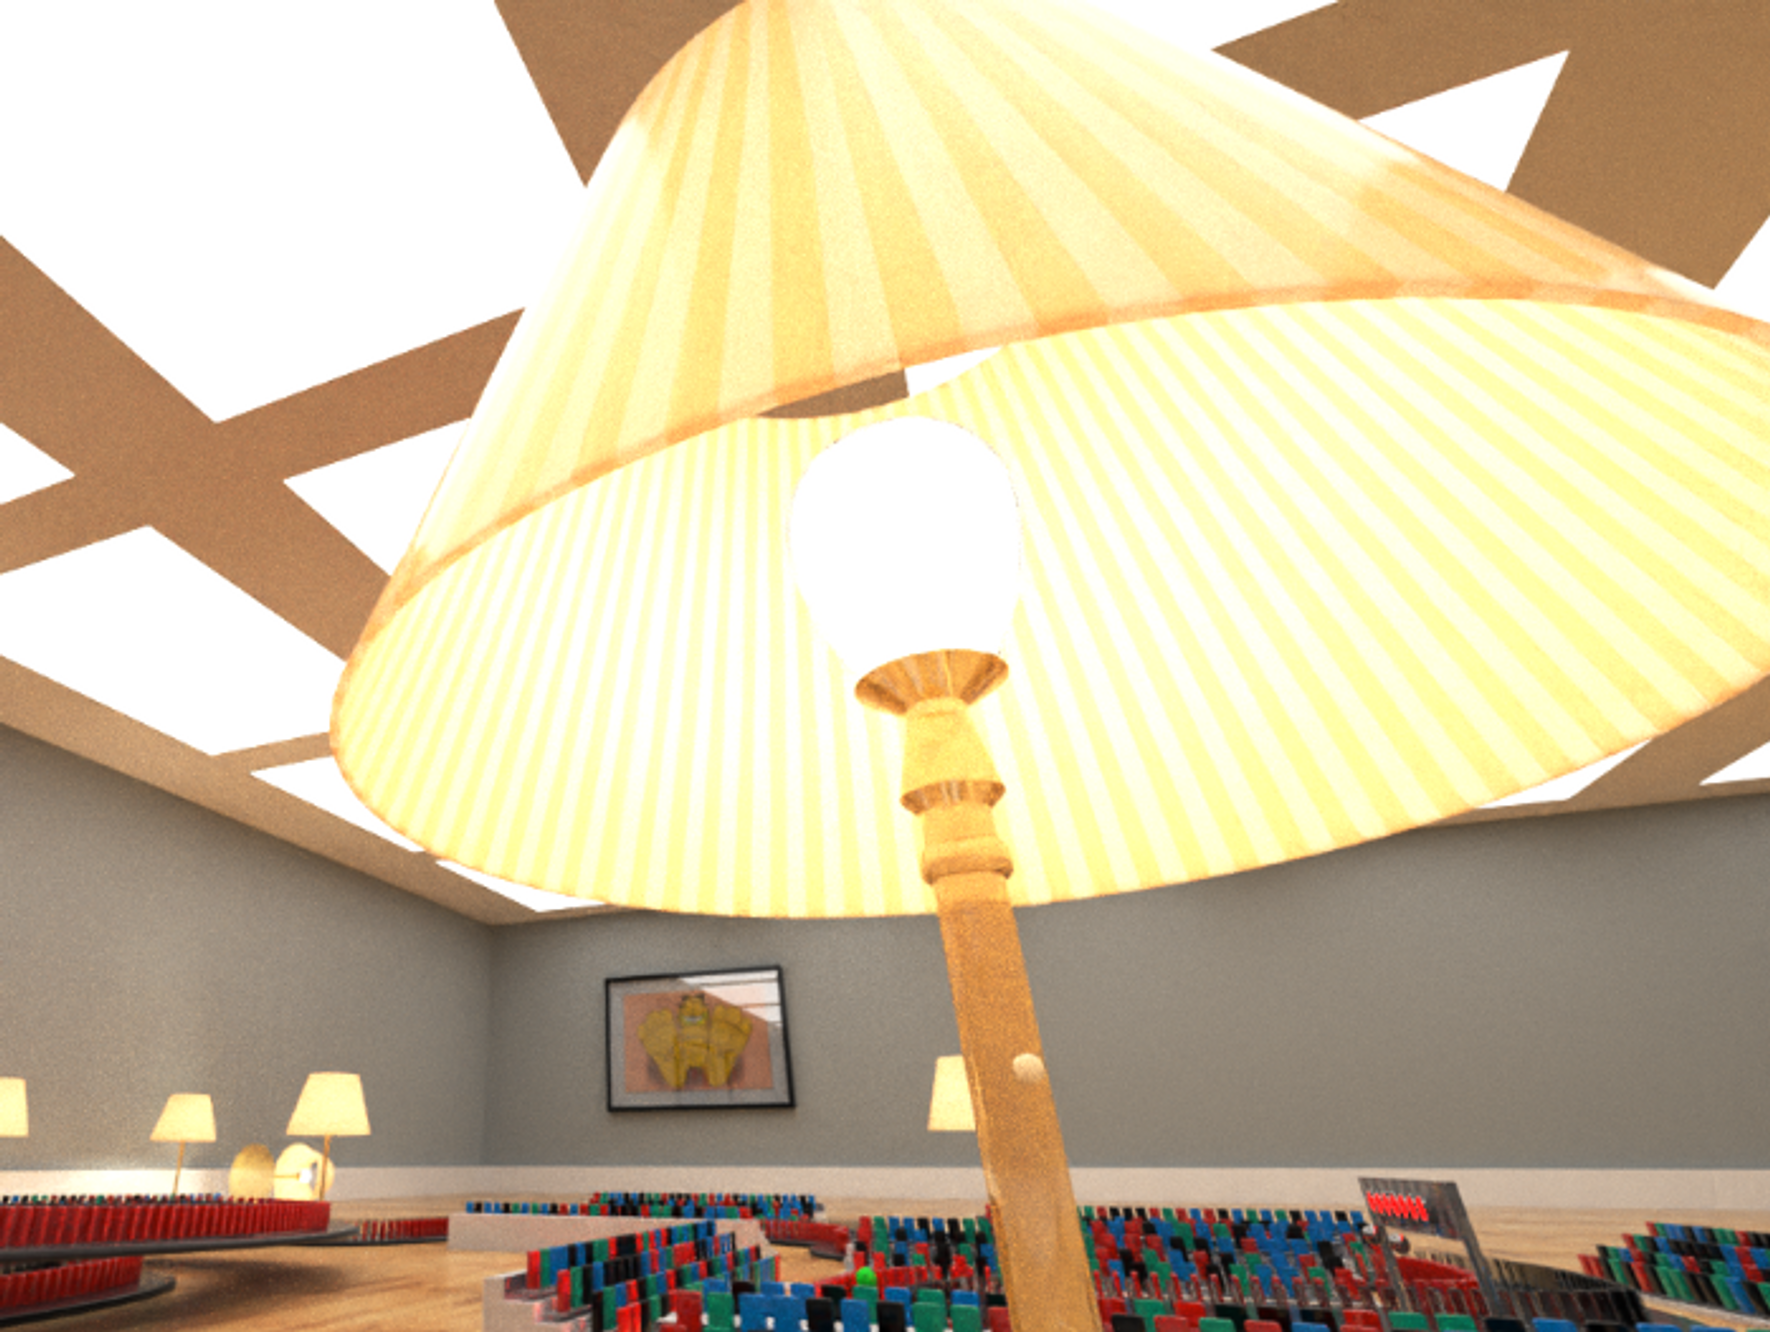
The material for the lamp shade uses subsurface scattering and a striped texture map to mimic the corrugated look of lamp shades. I set the outermost subsurface layer to be mapped to this striped pattern to appear as if those sections are denser than the other sections, allowing more light through.
Bulb
I set the material to a transmissive material at first, but then added some translucency to capture and amplify the light of the filament inside.
Filament
The filaments are simply cylinders with a warm white emissive channel set to be bright enough to light up parts of the race track.
Painting
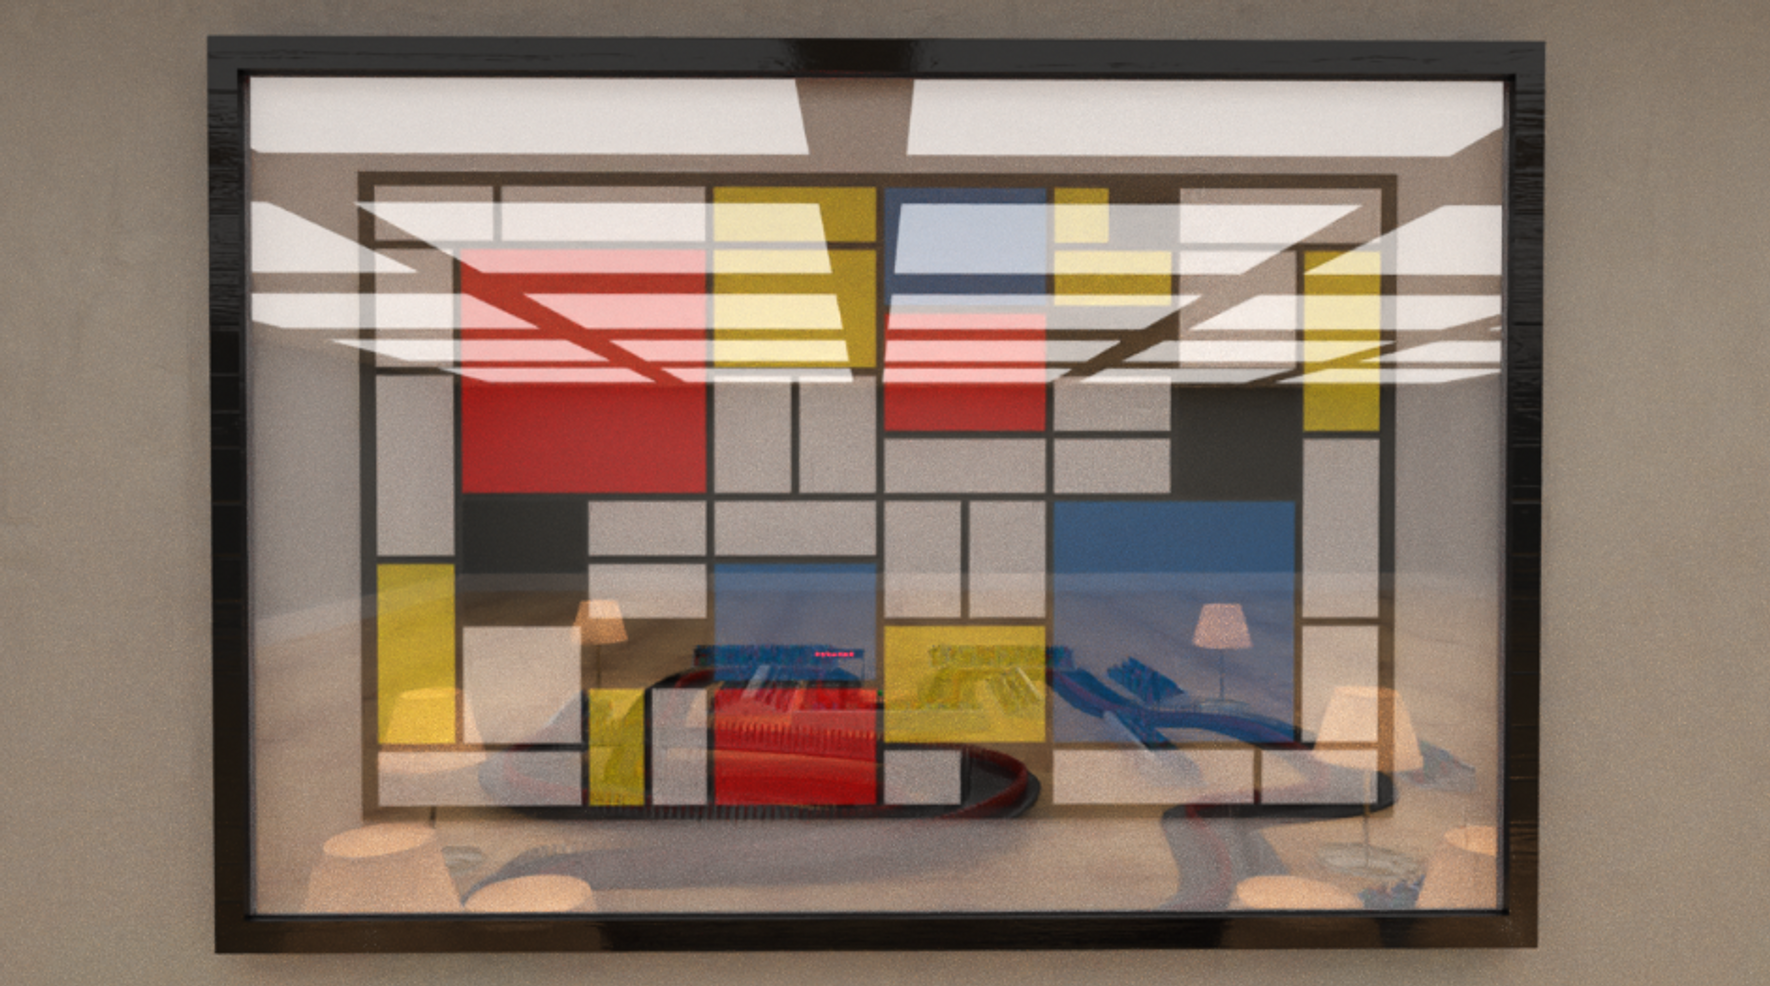
Model
The painting model consists of a wooden frame, a white matte, glass, and the painting texture. Each component is a simple transformed cube polygon, with a Boolean operation to give the protruding picture frame.
Material
The picture frame is a dark brown and uses the same bump map as the floor, but at a smaller scale. The matte is a flat white texture, the glass is a simple transparent reflective material, and the picture is a bitmap mapped to the polygon.
The bitmaps for the paintings are from Piet Mondrian, and an MS Paint drawing of Jim Davis’ Garfield.
Floor
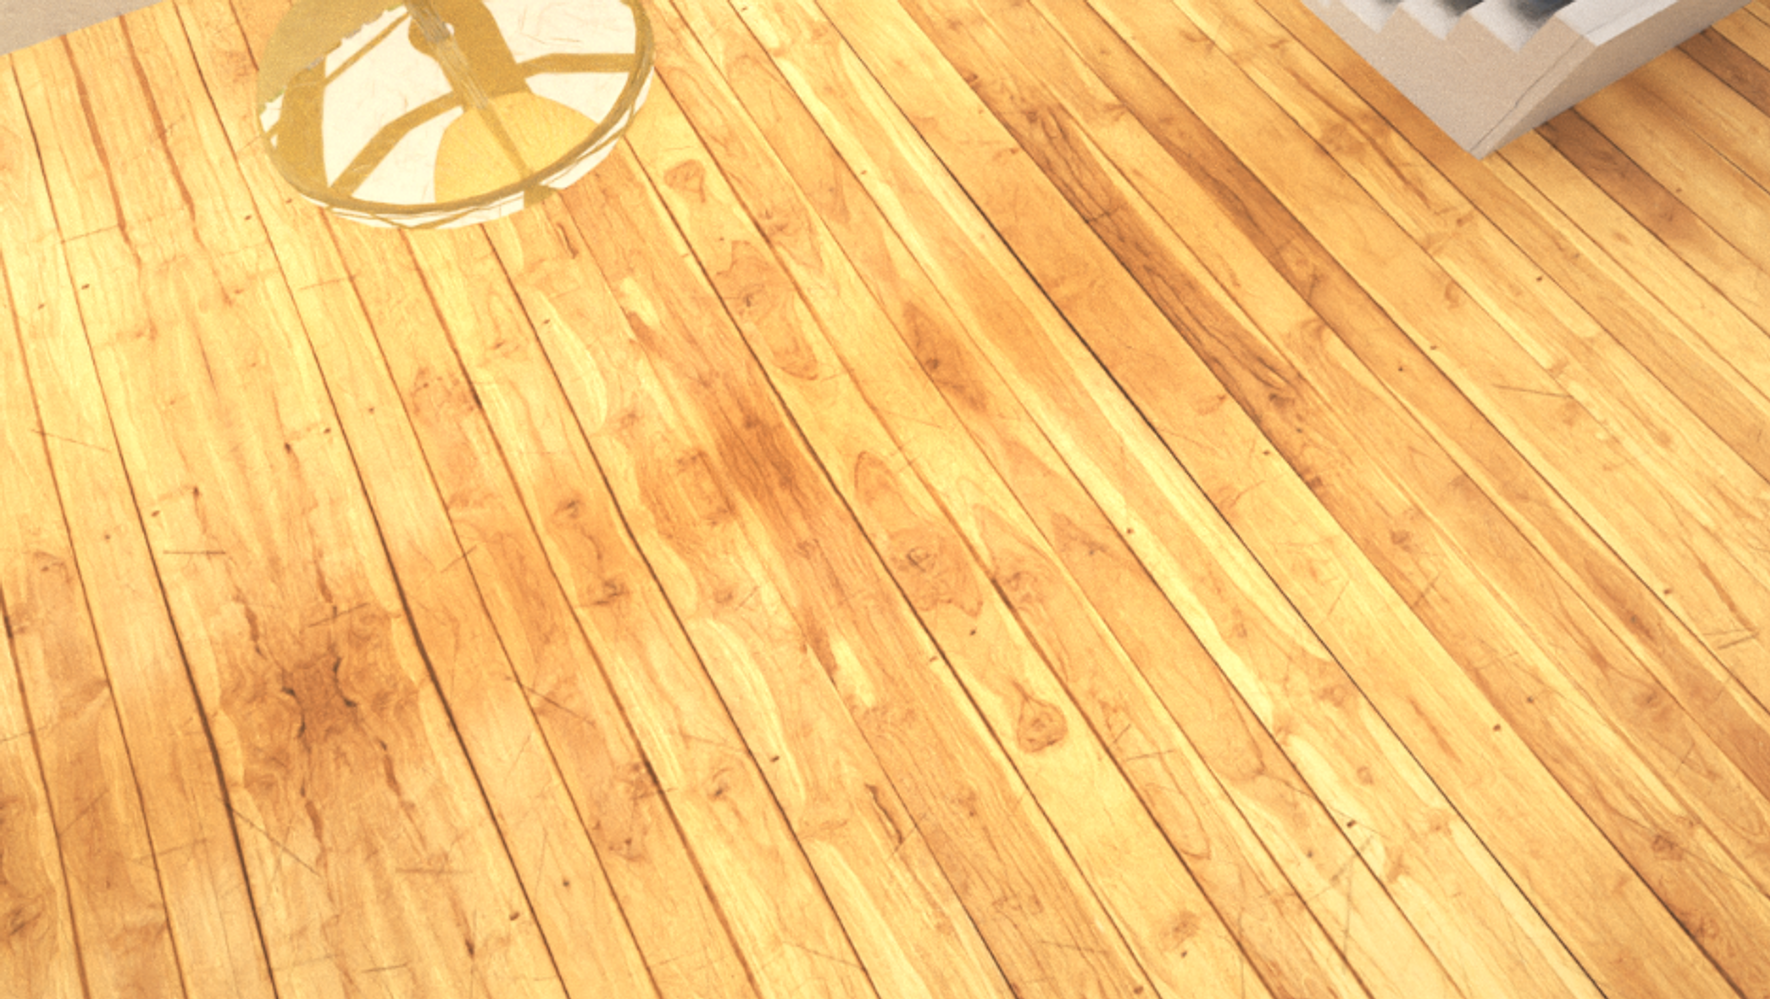
The floor material uses a diffuse channel with a hardwood floor texture mapped to the colour. The texture is linked in the credit section at the end of this document [1]. The bump map channel uses the same texture which creates deformations on the surface to affect the specular and diffuse reflection.
Animation
Domino Animation
I opted to use a dynamic rigid body physics simulation to achieve the desired effect of a domino chain reaction. Keyframing something like this would have been possible, but it would lack the organic chaos of a real domino chain.
I ran the simulation and baked the dynamics into the project to have a consistent chain reaction to follow when setting up the cameras. Caching the dynamics for all 1,300 dominoes took around 300MB alone!
There were a few issues getting this to work. Firstly, I had to set the dynamics to trigger on collision, otherwise they would immediately fall due to colliding with the track. Secondly, the dominoes appear to slide around after colliding. In the rigid body simulation, the Deactivation Threshold parameter did not seem to prevent the dominoes from moving after they had fallen down. I believe the issue likely stemmed from the mesh or the physics properties of the track, or the rounded geometry of the dominoes causing unwanted issues. I attempted to mitigate this by trying different collision meshes on both entities but to no avail. We can just look at it as if the dominoes are just extremely well polished.
Camera Animation
Throughout the animation, there are 16 cameras filming the action. 10 of which are set to target a specific object. I created this object and roughly keyframed its position throughout the track to act as the focal point for the cameras. This made the act of focusing the camera on the action very easy and flexible.
Rendering
The rendering software I chose, CentiLeo, leverages the GPU to render physically-based light. As half the dominoes in each shot are reflective and transmissive glass materials, rendering light this way was computationally expensive. However, this is the method I planned to use for rendering as I like the realistic look of properly ray traced light.
The CentiLeo render configuration I set up is as follows:
| Parameter | Value |
|---|---|
| ----------------- | ----- |
| Render Iterations | 4 |
| Iteration Size | 16 |
| Ray Bounces | 5 |
| Denoiser | 0.7 |
Overall, it took 5h48m to render 1900 frames (~ 64 seconds @ 30FPS) while rendering to 1920x1080 on an RTX 3080. Rendering a single frame took between 9-12 seconds, 10 seconds on average. I had to run the render twice as I noticed a few oversights once watching the final clip.
Videos
Below are some of the videos I created for this project, I include them all in a YouTube Playlist.
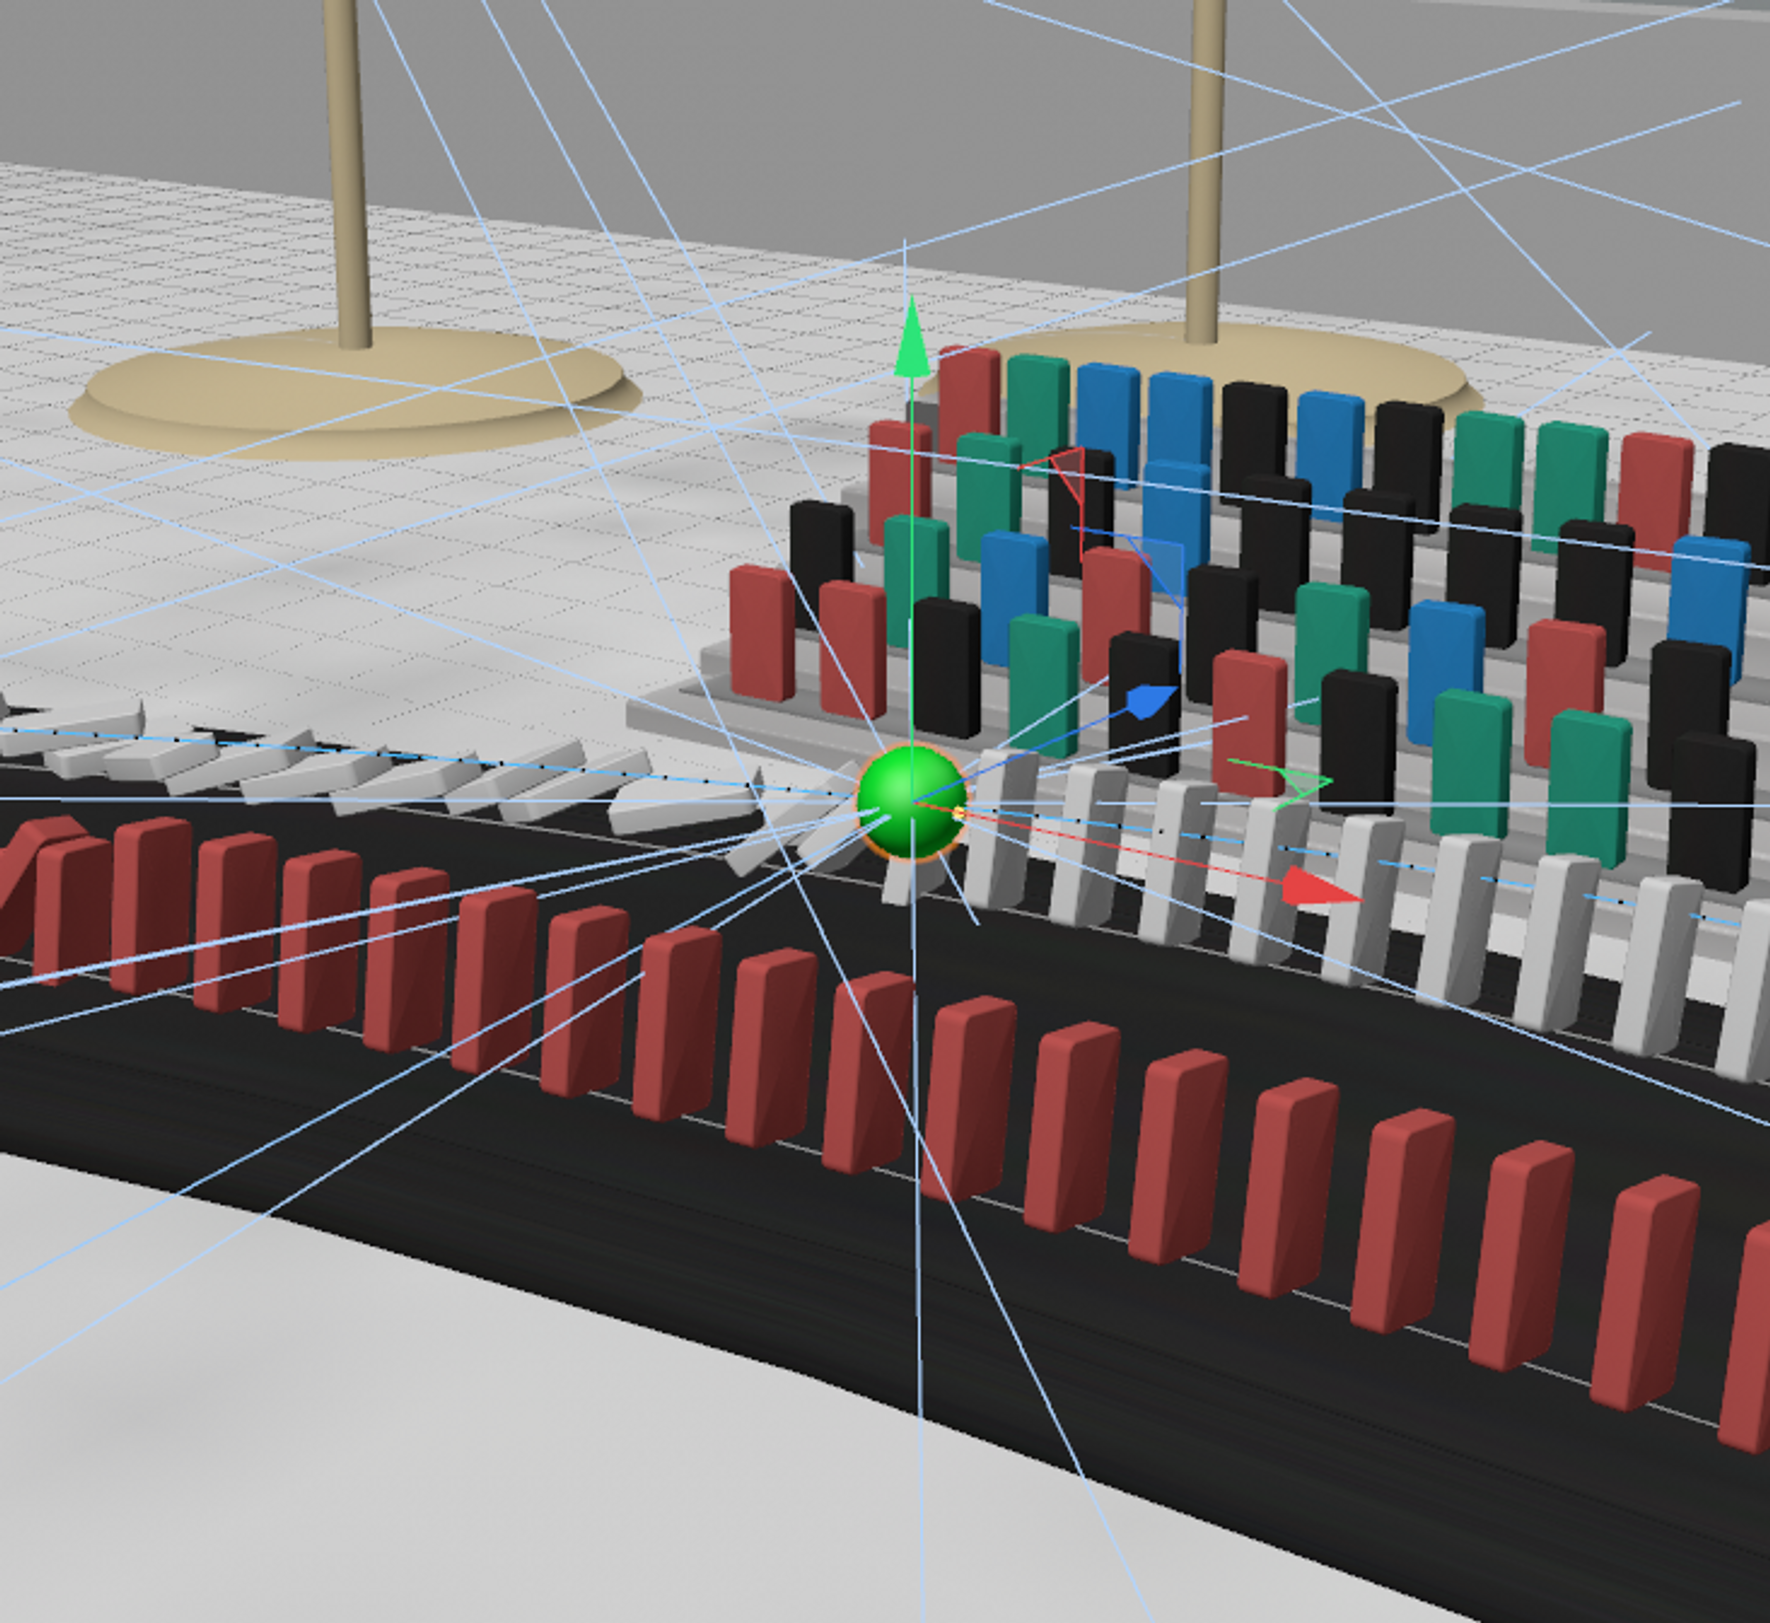
Pre-Render
This clip shows the animation layout and camera work before rendering takes place. Note, the frame rate is lower and slows down significantly in some scenes. The green sphere floating around the track is the target for the cameras to focus on.
Rendered Clip
Rendered with Deep Frame Interpolation to 60FPS
Audio and Sound Design
All sound design aspects were created by myself, with the exception of the countdown and race finish sound effects. The sound design for this animation was entirely done in post in FL Studio.
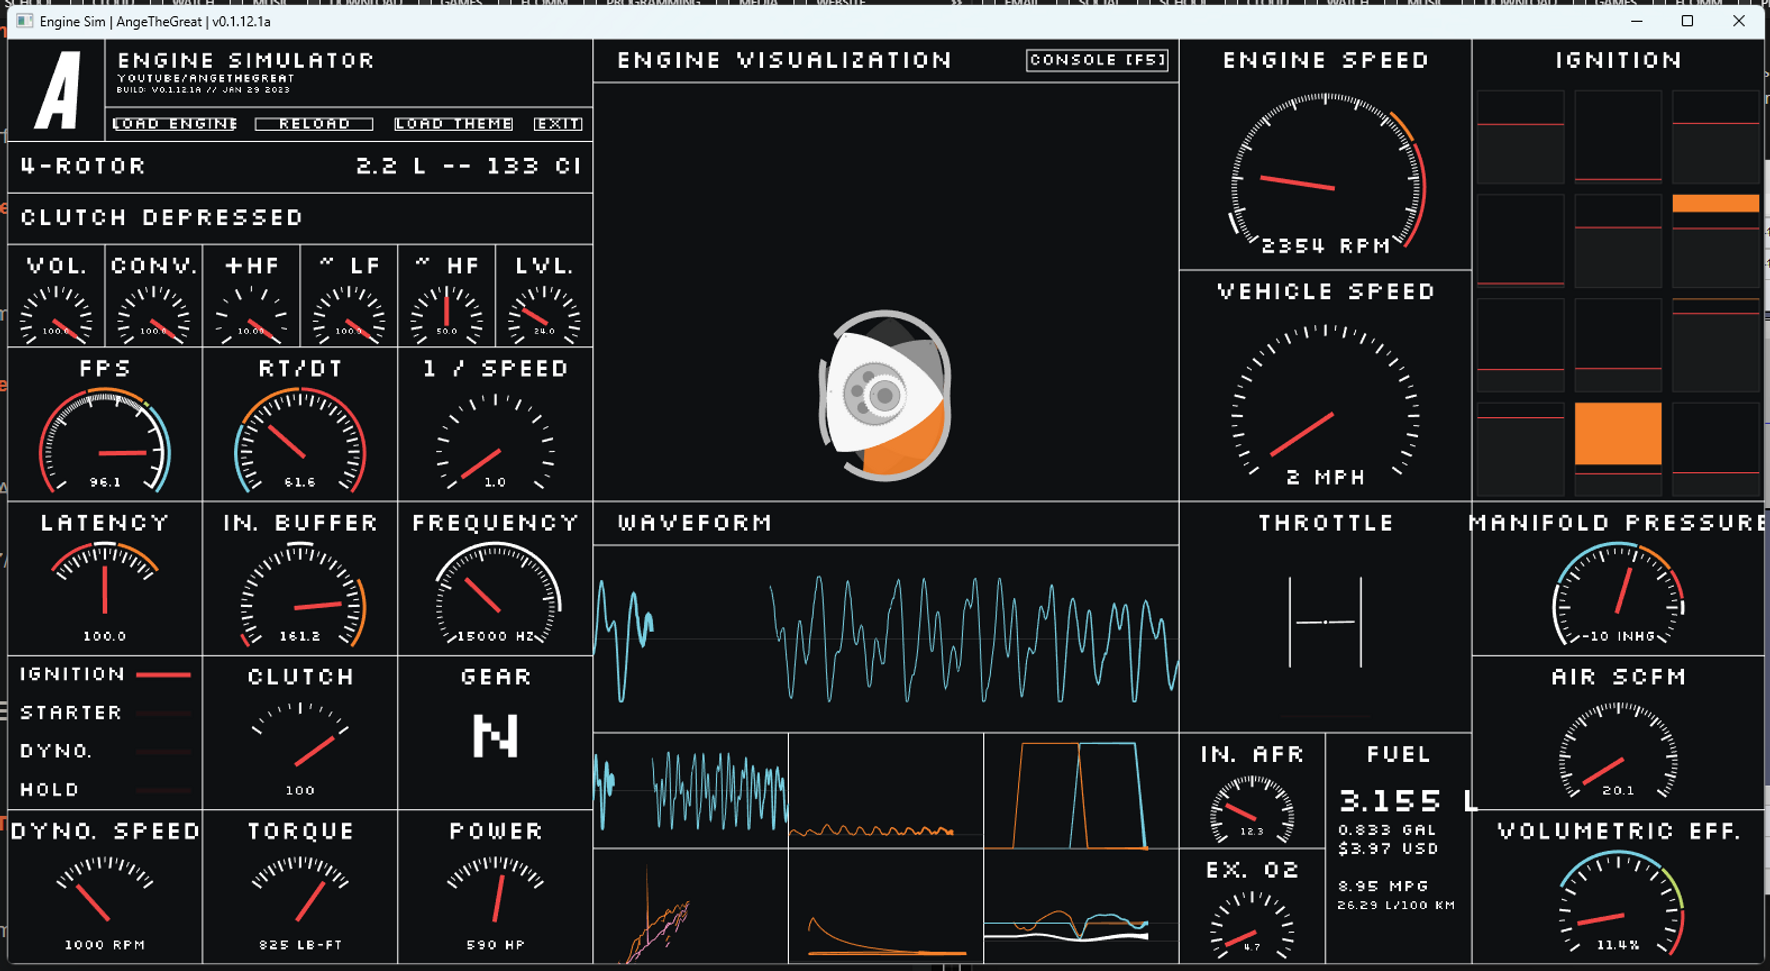
Engine Sounds
For the engine sounds, I created them using an open source physically modelled combustion engine sound simulator, Engine Simulator by Ange Yaghi. I ran the engine synthesiser along with the animation and tried to match up as best as I could. I chose a 4-rotor engine as I was aiming for a high revving sound, similar to an F1 car.
Domino Sounds
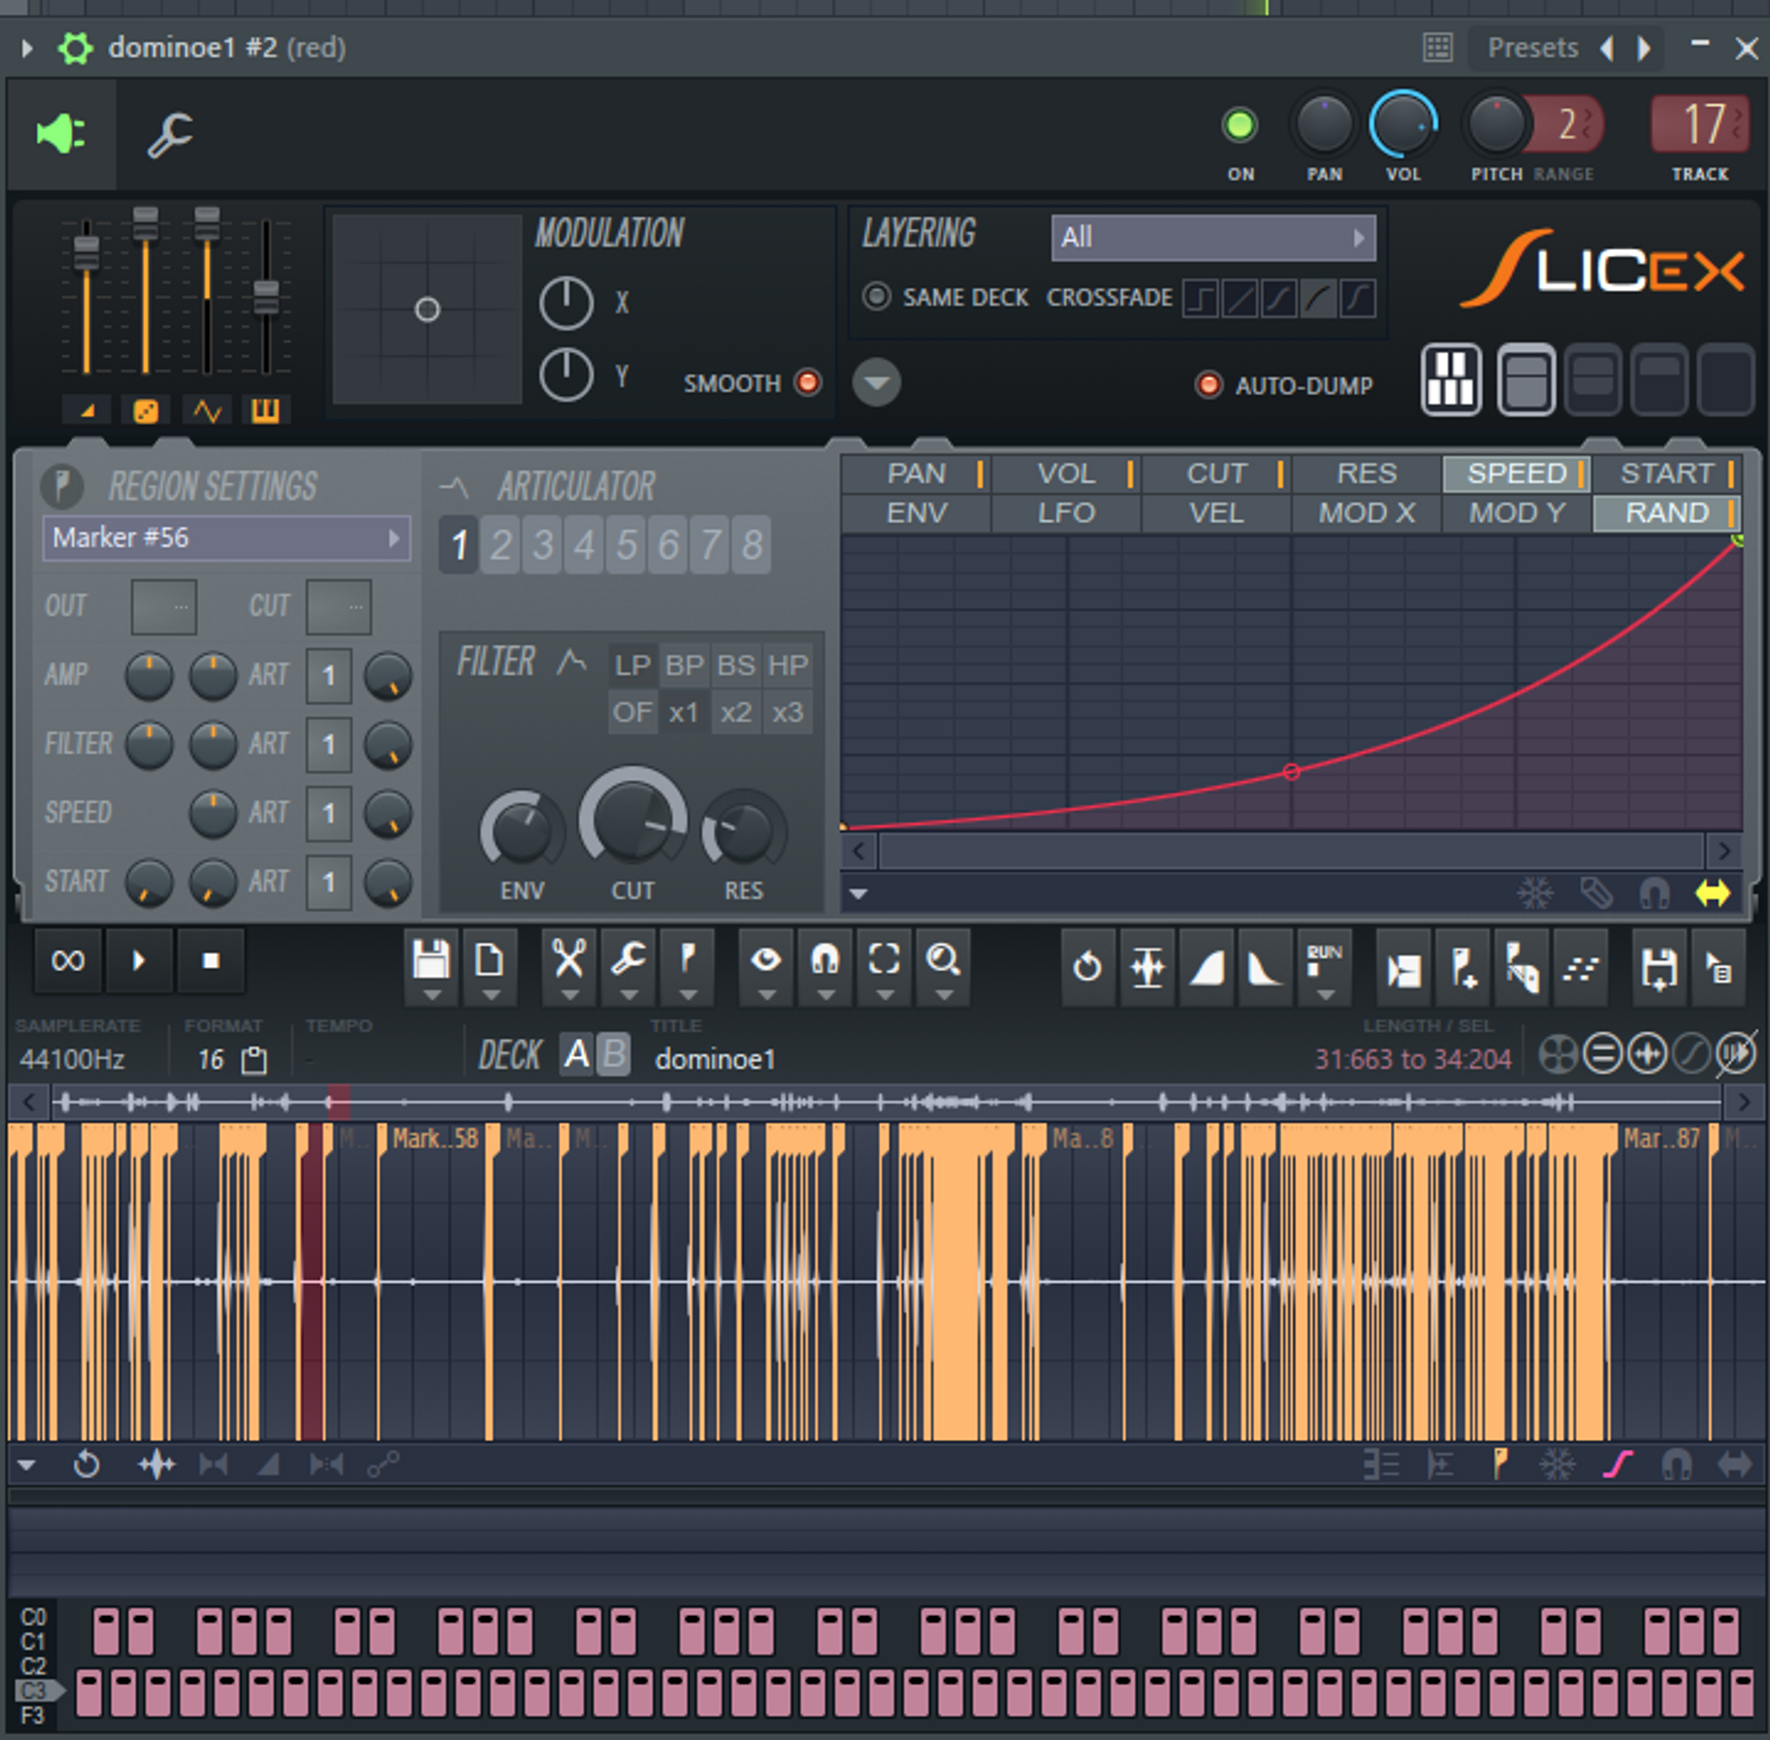
To create the domino falling sound effect, I recorded audio clips of myself making a couple dominoes fall, and hitting an individual against another several times. Then I used Slicex (left)— a powerful beat detection plugin that maps sliced samples to the piano roll.
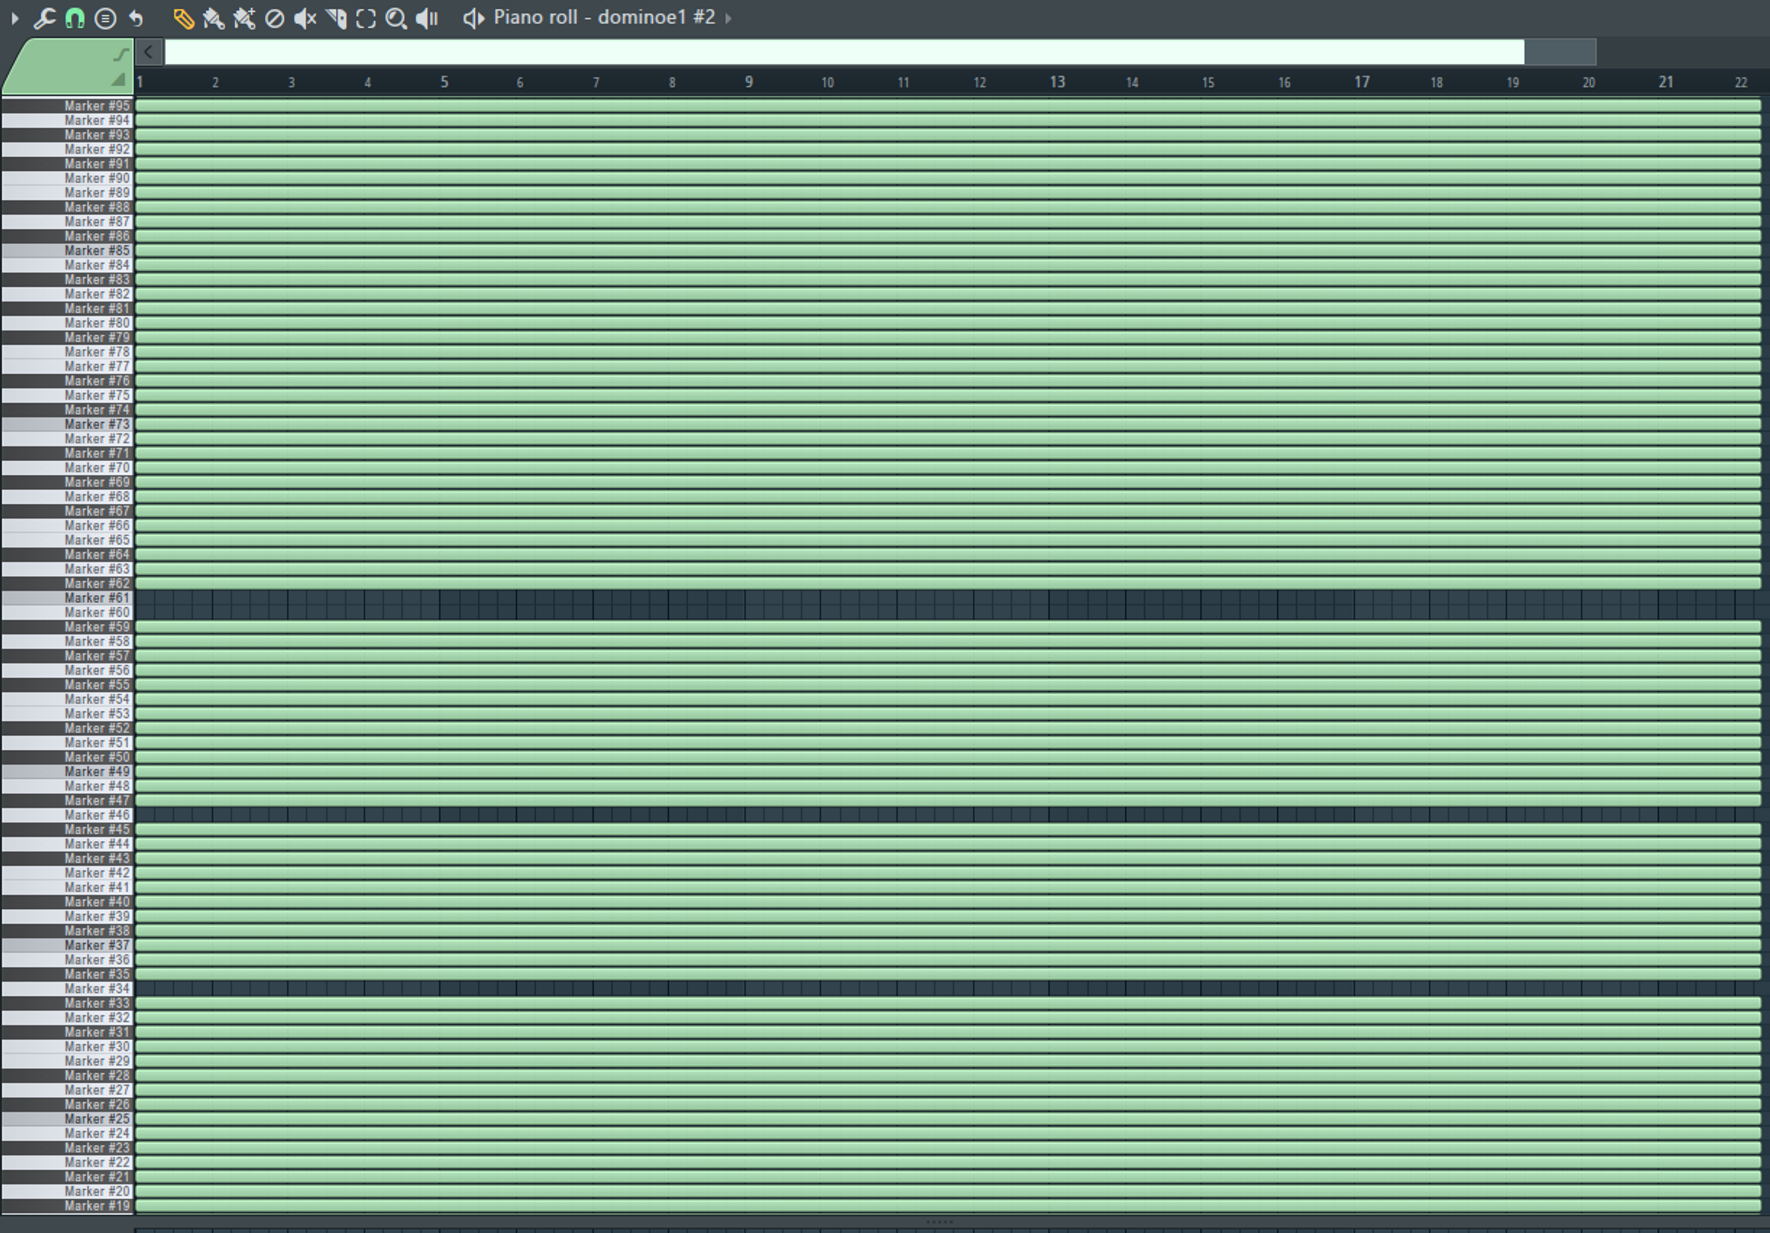
I then set up a randomizing arpeggiator and sequenced all the notes at once (right) for the duration of one minute to play all of the transients of the sounds back to back in a random order. This gave the desired effect of random sounding dominoes falling without having to set up any dominoes in real life. I then rendered this as an audio file to allow for pitch shifting.
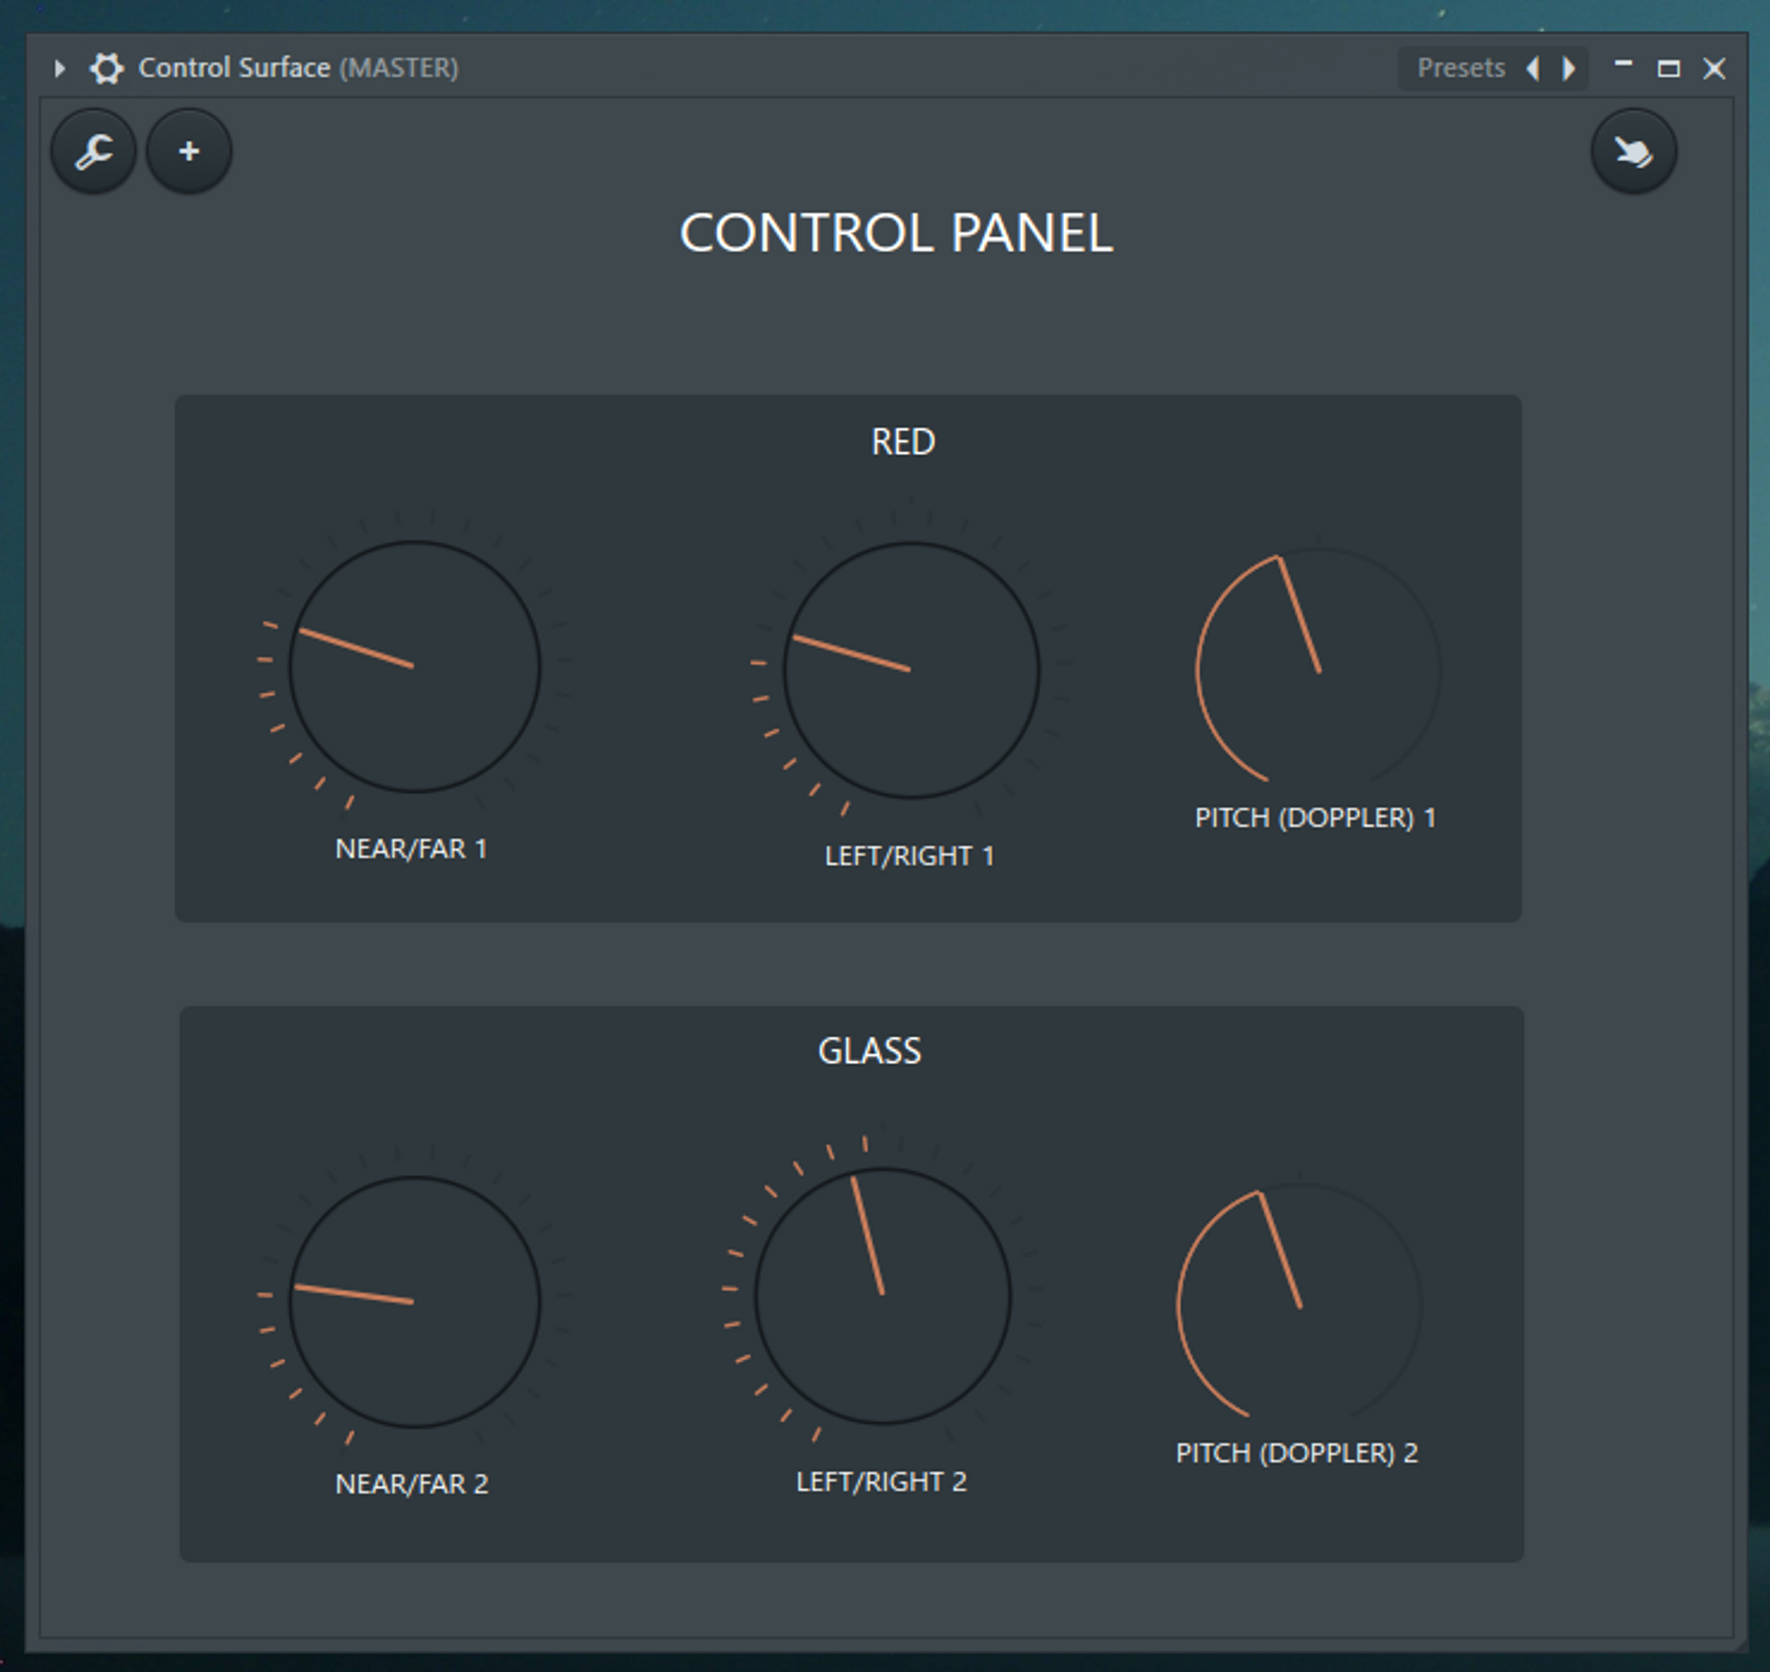
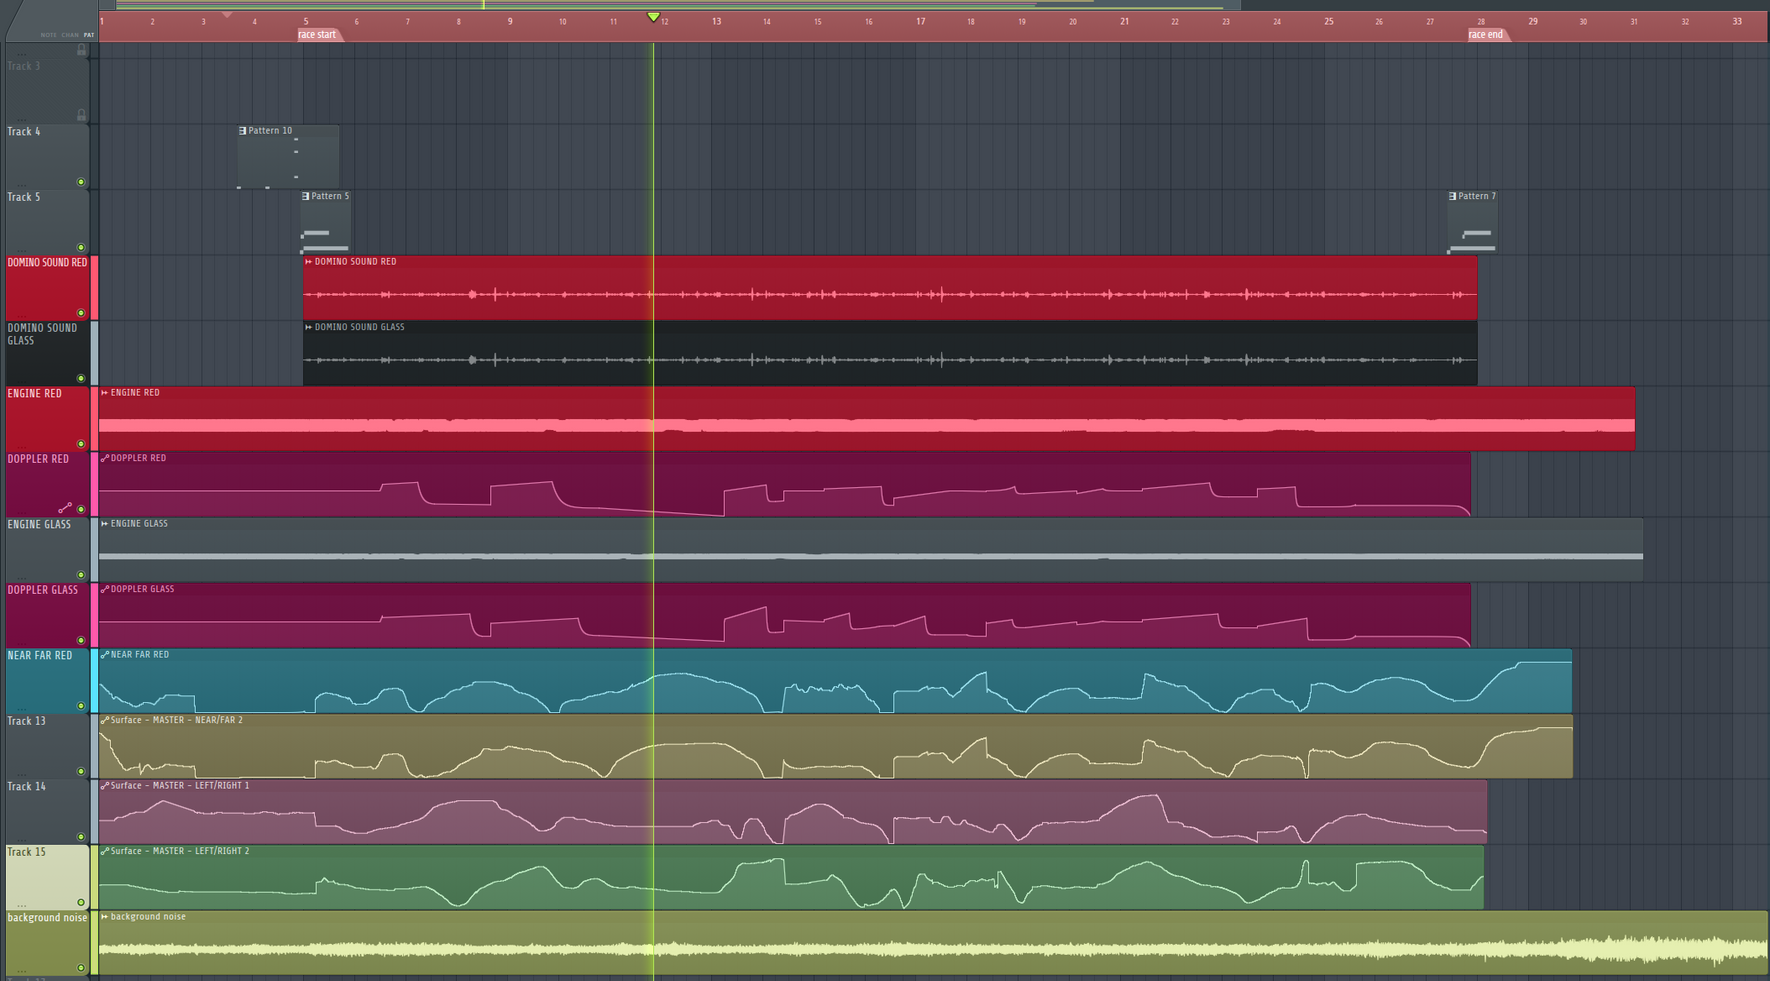
For both of the sounds, I then run the audio track through a pitch shifter, convolver reverb, a left-right panner, and a volume controller, for both dominoes. The parameters are all controlled by this control panel (left) I set up to make it easy to tweak. I mapped the controls to a MIDI knob controller and played the video in sync with the timeline and recorded the automation (right).
Overall, I spent 5h50m designing the sound effects and audio for the animation.
Editing
The only video editing required was to combine the sound design audio track with the rendered clip and export as an MP4.
Final Edit
Credits and Attributions
1. Parquet Flooring Texture - FWStudio — https://www.pexels.com/photo/brown-wooden-parquet-flooring-129731/
2. Black Asphalt Texture - Vecteezy — https://www.vecteezy.com/photo/1266649-black-asphalt-texture
3. Engine Sim - Ange Yaghi — https://github.com/ange-yaghi/engine-sim
4. Countdown Sound - Gran Turismo 3 — https://www.youtube.com/watch?v=s5rO6W9ZnXA
5. Finish Sound - Gran Turismo 4 - Isamu Ohira — https://www.youtube.com/watch?v=zfcGVF9TLHs
- Crowd Background Noise - Gran Turismo 4